Post by 1dave on Nov 18, 2013 7:29:12 GMT -5
Part 4 - Making Plate:
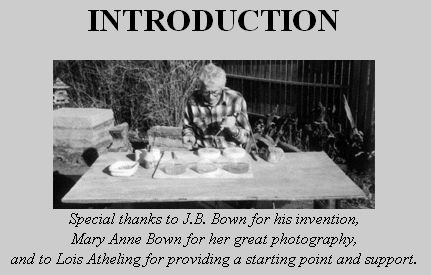
I had the good fortune to know Jay Bee Bown, the inventor of the Garnet Block.
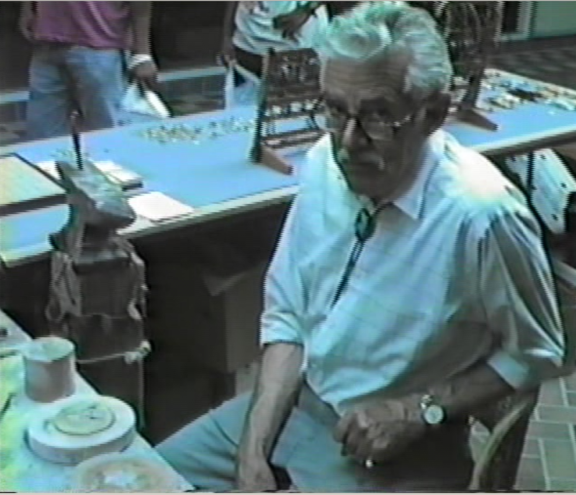
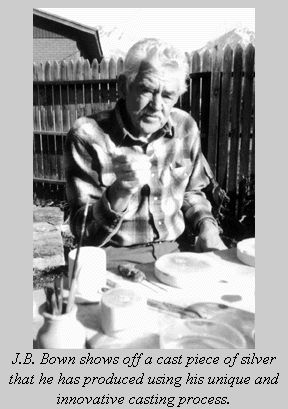

Here is his description of the process:
Making Plate
It is always a good idea, especially when you are first learning the process, to start your project with a good piece of plate. The uniquely textured plate that you'll get from the Garnet Soldering Block can be fused, soldered or cast into all types of fine jewelry. For making plate, you will need your Garnet Soldering Block, Garnet Casting Block, a torch, an awl, and your scrap silver. Mix your pickling solution and soda water ahead of time and have them within your reach. You are ready to begin.
Step One
Place a pile of scrap silver on your Garnet Soldering Block. After you gain experience you will get a feel for how much scrap you will need to attain the size of plate you want. Start with a pile about an inch in diameter.

figure 1
Step Two
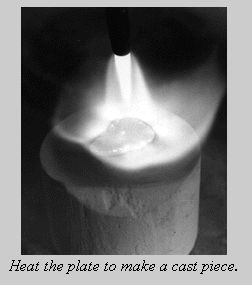
Hold the torch as shown in figure 1. If you are right-handed, hold it in your left hand (vice-versa if you are left-handed). Heat the metal with the torch until it becomes molten. Use an awl or other instrument to gather all the loose pieces of metal into one piece. It is also a good time to get rid of any bezel, other metals with a higher melting point, or impurities that may be mixed in with your silver. The traditional method has been to melt the metal mixed with Borax in a crucible and then skim the impurities off the surface.

figure 2
Step Three
Continue heating past the molten stage until the metal forms into a ball. Remove the heat and let the metal cool off slightly. Carefully flatten the metal with the Garnet Casting Block. If the metal splatters and runs under pressure, it is too hot. In this case you should repeat this step before continuing. If the metal flattens to the thickness you need, then you can skip step four and move on to step five.
Heating the metal to the molten stage.
Step Four
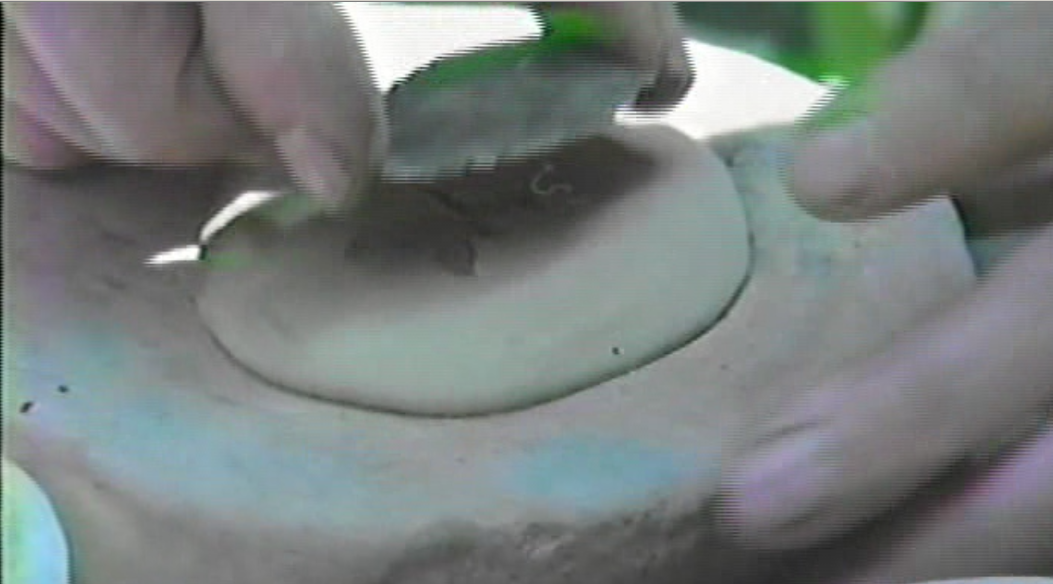
To flatten the metal further, reheat it until it reaches the correct molten stage. Keep the point of the blue part of the flame about 1/8" above the block. Use a circular motion to heat the block about 1/4" around the edge of the metal. The reflected heat from the block will heat the metal evenly, underneath and also on top. Keeping the flame from hitting the piece directly will also reduce the amount of fire scale. The most critical part of this process is learning to recognize when your metal is ready. You can recognize the correct molten stage when your metal starts to bubble and the edges begin to curl up. Once you've identified this stage, immediately remove the heat and firmly flatten the metal with a wet Garnet Casting Block. A wet Casting Block will keep the metal from sticking to the Block. Also, the steam created when the wet Casting Block touches the molten metal will help press the metal into the mold. You may have to reheat the metal and repeat this step until the plate is the thickness you want.

figure 3
Step Five
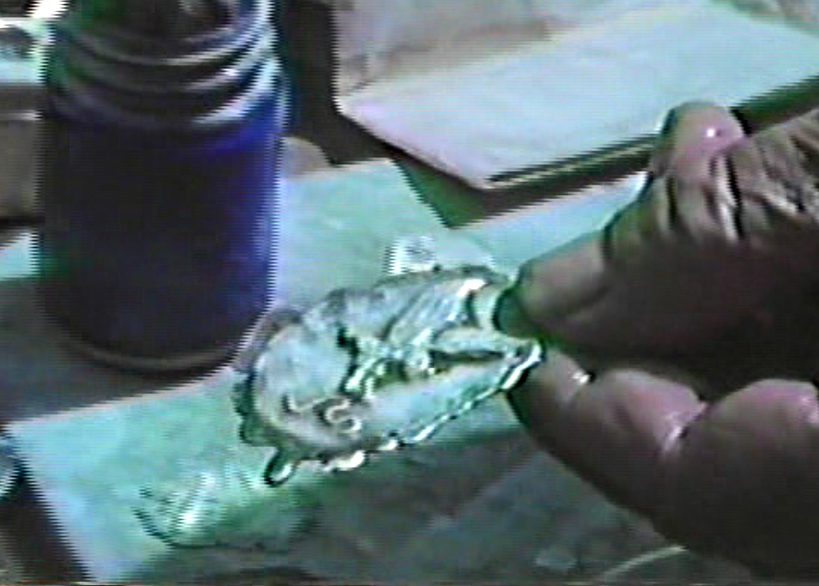
When your plate is the thickness you need, remove it with your large brass tweezers and dowse it in the pickling solution. The pickling solution is a mild acid that works best at higher temperatures. It softens, cleans, and cools the metal. Now move the piece to the soda water solution to neutralize the pickling solution. Finally, dip it into the water as a final rinse. J.B. suggests that pickling be a deliberate process; take your time.
acid dip
soda dip
water dip
Step Six
Steps six and seven are optional. If you plan to use the plate for casting or if you want to retain its unique antique texture, you will not need to follow them. However, if you want the plate to have a shiny new look, hammer it on an anvil or other flat metal surface to uniform thickness. Like water, metal boils when hot. When the metal was molten during the previous steps, internal bubbles formed. Hammering the metal will not spread it out so much as it will compact the internal bubbles. This will leave you with a solid metal piece that is more durable.
Step Seven
To complete the process of making the metal more durable, all the molecules of the metal need to be aligned. This is achieved with a process called annealing. Heat the plate to red hot. This is the point just before the molten stage when the metal turns a bright red color. If the metal boils then you have gone too far and the piece is weakened. After the piece is red hot, immediately dowse it in pickling solution (see step five). You can now grind off imperfections and polish the plate to suit your needs (see the instructions for finishing a piece).


J.B. Bown shows how to compact a piece of plate by hammering it on his famous anvil.
His pounding draws quite a crowd at the Rock & Gem Shows!


