Lever Lock Drum Sander Repair
Mar 30, 2015 10:28:36 GMT -5
gingerkid, spiritstone, and 3 more like this
Post by 1dave on Mar 30, 2015 10:28:36 GMT -5
NOTE: This is another re-write of my REJECTED Rock and Gems article of several years ago. They didn't like that I wrote on the photos.
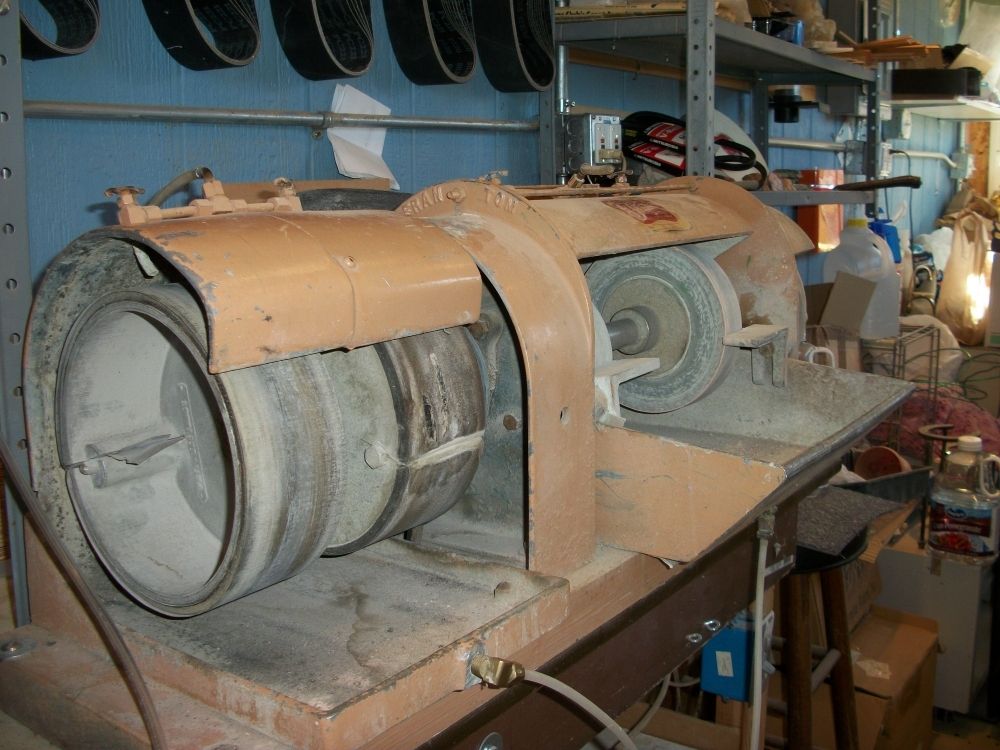
The rubber backing on my old Frantom (yes, THAT old!) leverlock 8" sanding drums have turned hard and brittle so I searched for repair information.
Around 1950 Thomas James Virgin and his wife, Fran, put their names together to make the Frantom brand in Gardena and Hawthorne, CA., where they made saws and grinder/sander units for us rockaholics.
Around 1981 Frantom was acquired by Contempo Lapidary in Sylmar, a district in the San Fernando Valley, who continued to make combination lapidary units and saws. Contempo Lapidary was acquired by Diamond Pacific Tool Corporation in 1997. They seem to be into all diamond wheels. No help expected there.
I did a web search for leverlock sanding drums and up popped Covington Engineering, who still manufactures leverlock drums! I called them at Toll Free: 1-877- 793-6636.
To my pleasant surprise Judy, the lady that answered, knew exactly what to do!
Apparently I’m not the only one with this problem.
1. Order their rubber replacement strips - 3" X 25-7/32" at $4.75 each.
2. Scrape off ALL of the old material.
3. Sand if necessary to get a smooth surface.
4. Clean with acetone.
5. CAREFULLY attach the new strips using contact cement.
You will need something to hold the strips tightly in place for 24 hours before using.
6. If there is excess material, trim it off at the slot.
#1 One was the easy part. Believe it or not, they willingly sold me the strips! They arrived long before I got brazen-faced enough to start removing the old backing.
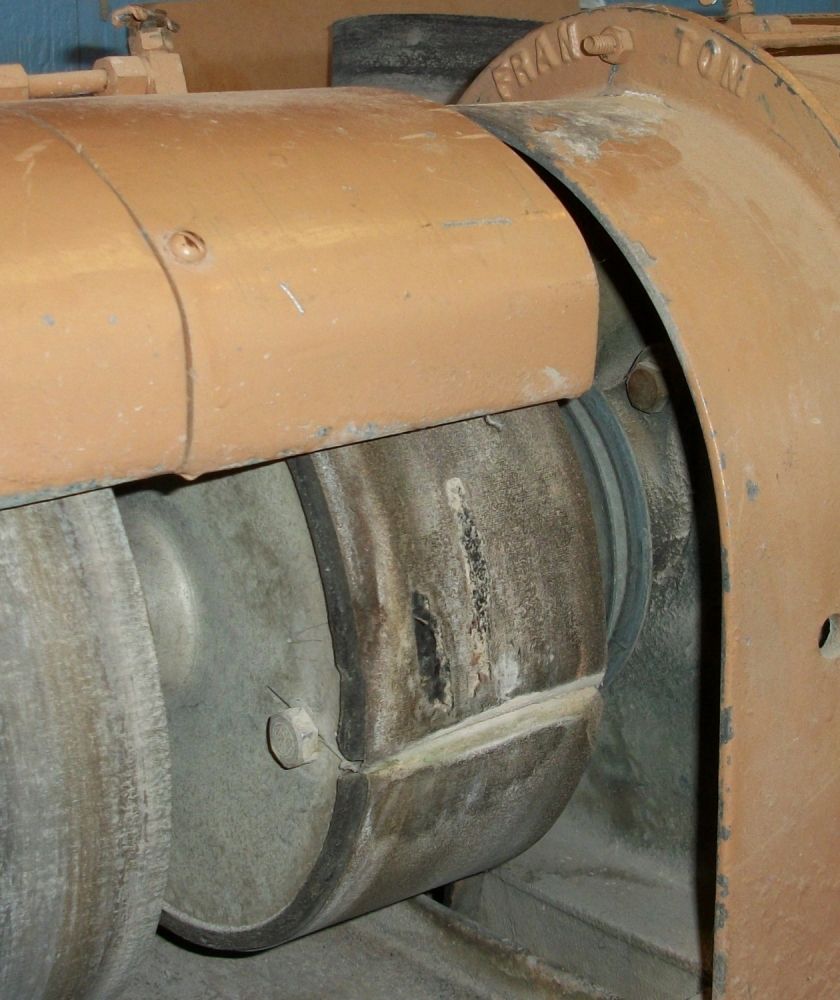
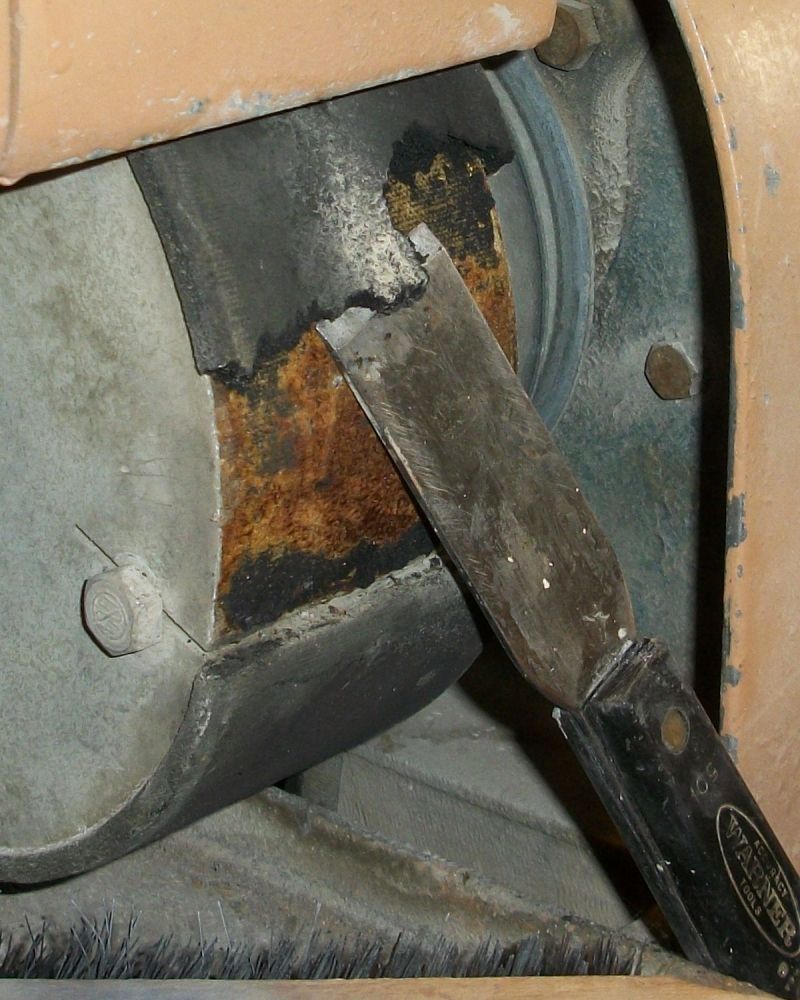
#2. “Scrape off all of the old material.” A dirty job but a heavy duty putty-knife / chisel makes quick work of most of the old brittle rubber.
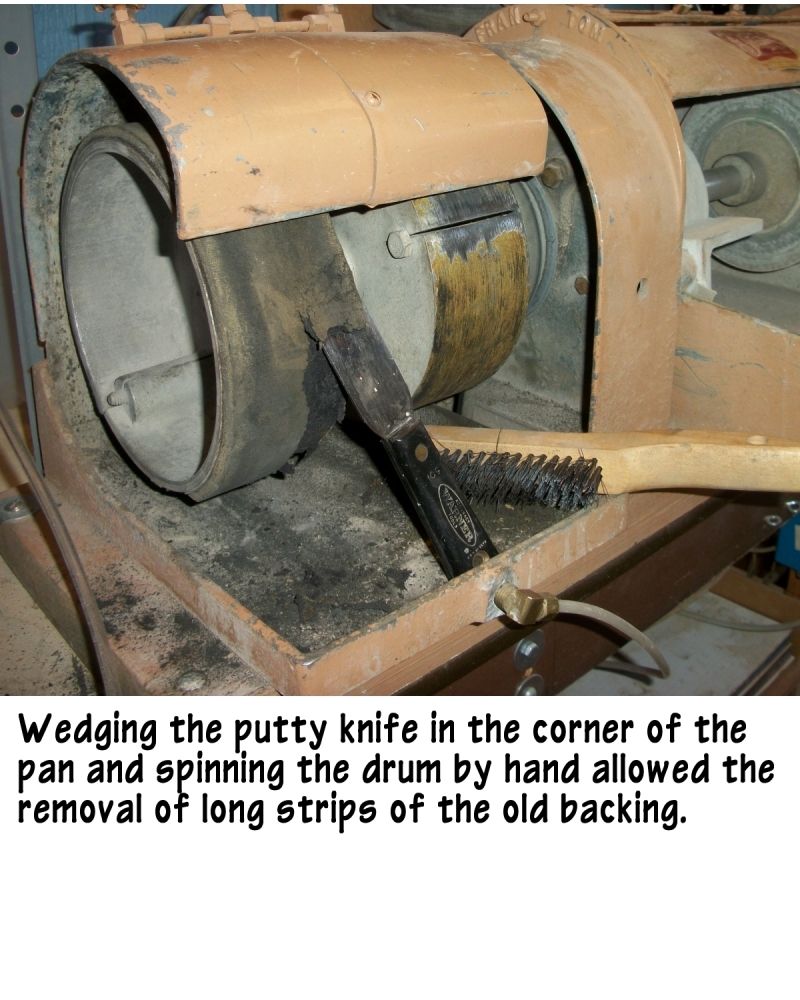
By wedging the putty knife into the corner of the drain pan and hand spinning (hard, but doable) the drum, fairly long strips of rubber came off.
There was a lot of rubber still attached to the old contact cement, but running the machine with a stiff wire brush held against it removed 90% of what was left.
Most of the rest of these photos were taken with the machine running, but the camera is so fast you can't tell.
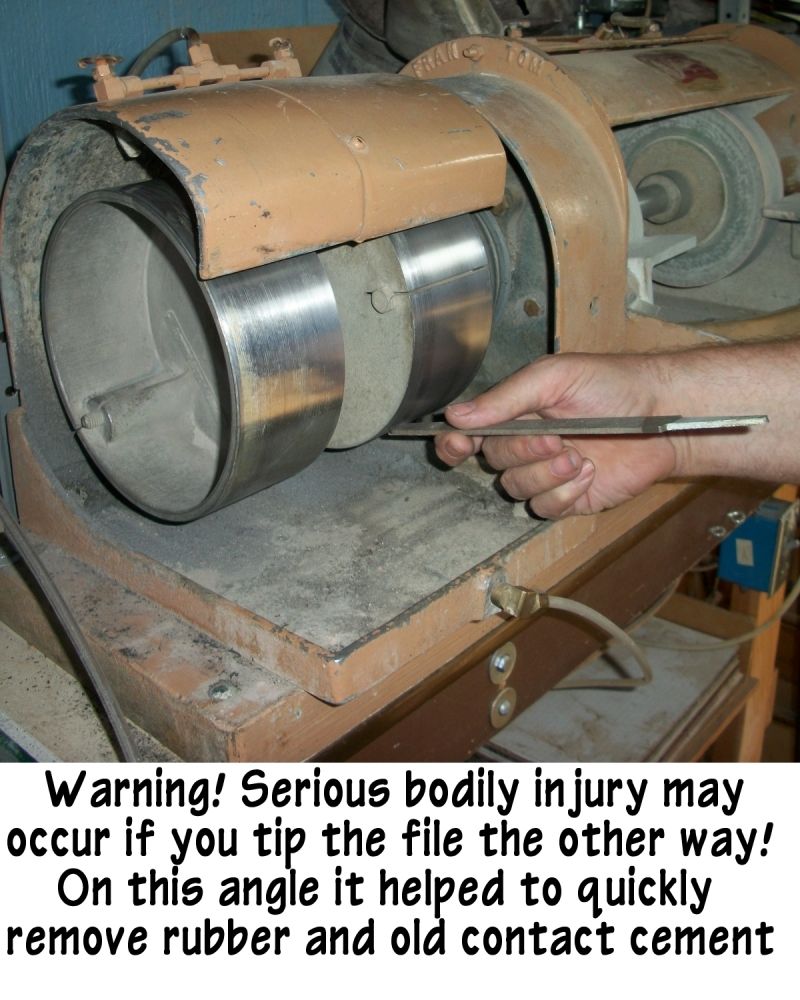
Removing the old contact cement was the hard part. I tried lots of wild and crazy ideas, but what worked best was to hold the end of a file against the drum like a wood turning tool (NOTE: Do NOT turn the tip up! Serious bodily harm could ensue!) while the machine ran, removed most of it.
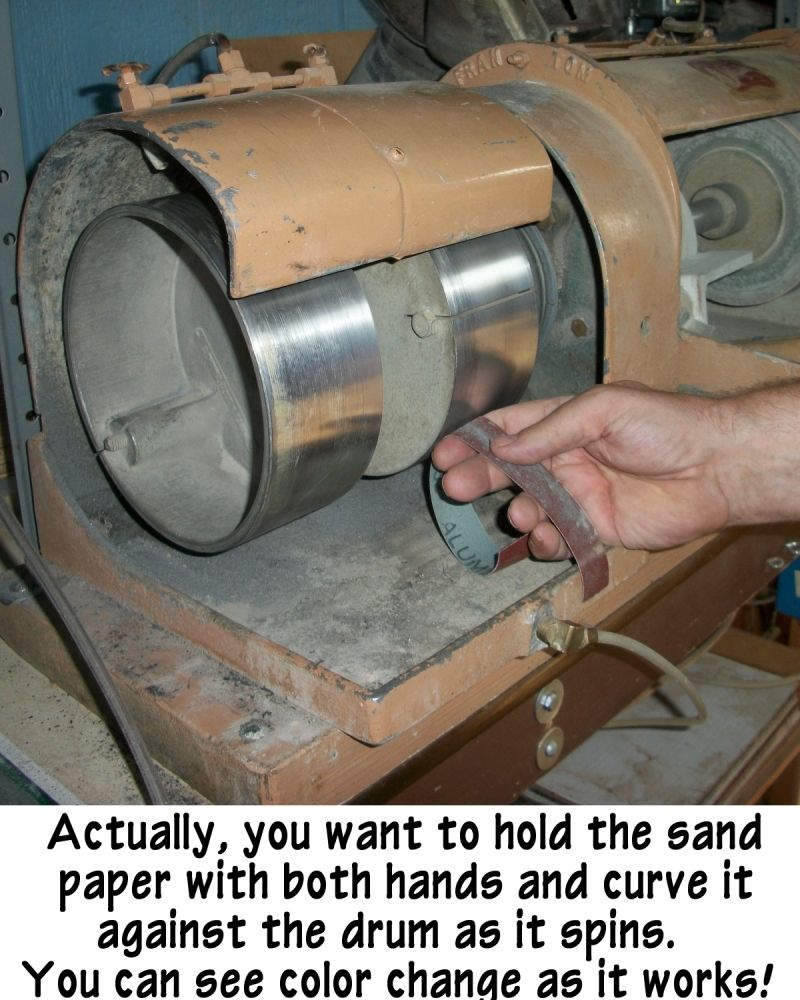
#3. “Sand if necessary to get a smooth surface.”
Holding finer and finer grades of sand paper against the drum with two hands (NOT like in the photo. I had to use one hand to snap the picture) so the grit curves to the face of the drum did a good job once the last of the rubber was gone.
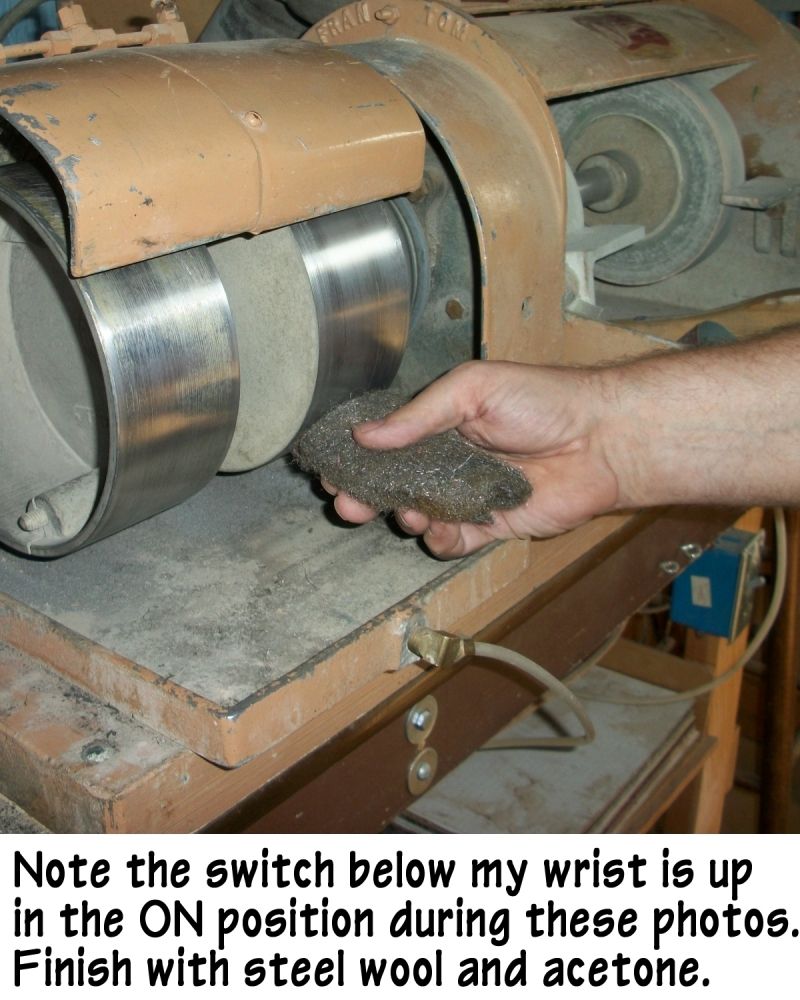
#4. “Clean with acetone.” I finished scrubbing with steel wool, then wiped the faces with acetone as directed.
#5. “CAREFULLY attach the new strips using contact cement.”
Home Depot had contact cement in two sizes. A 4 oz. Bottle for $5, or a 32 oz. Can for $10. I bought the can and their cheapest tiny paint roller for $2.
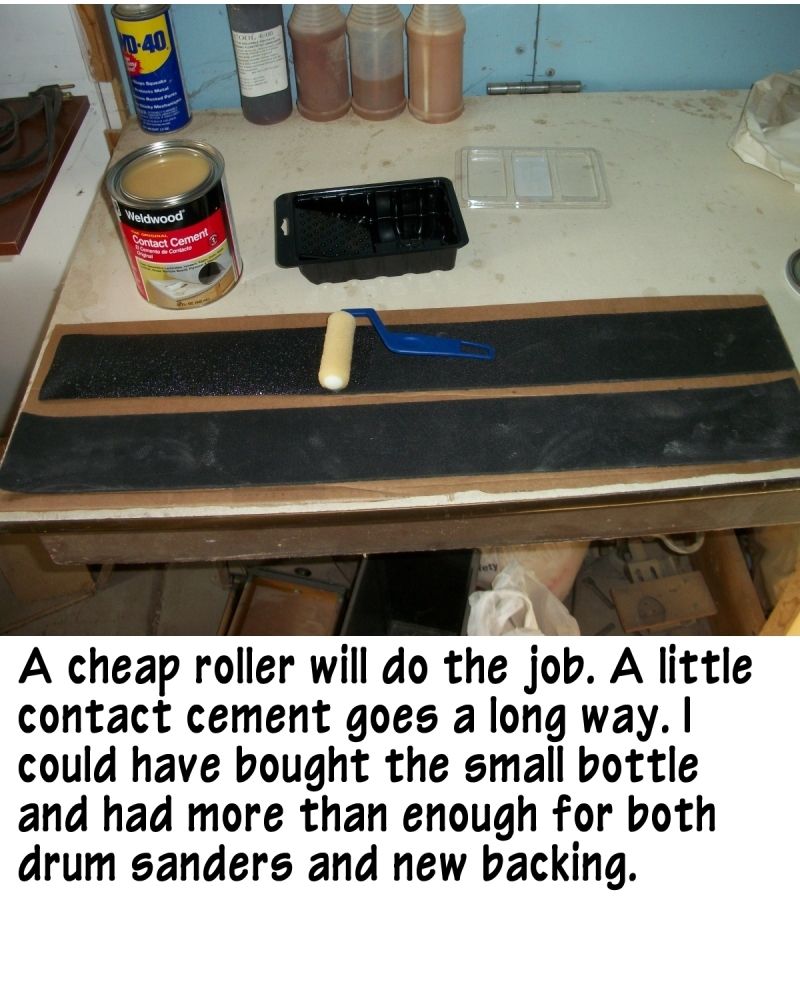
As it turned out, the small bottle would have been plenty for both drums.
I placed the new strips on cardboard, but the roller worked great and didn’t spill a drop. Dipping the roller in the can a couple more times and I had the drum surfaces coated also.
My cabinet maker friend told me he has waited as long as an hour before putting the two pieces together and never had a problem. I waited about 20 minutes then attached the first strip square and centered at the slot of the right drum. I turned the wheel backward and pressed the rubber firmly against the drum as I went. With about three inches glued, I stopped and took a photo.
Obviously the instructions “ You will need something to hold the strips tightly in place for 24 hours before using,” were not necessary.
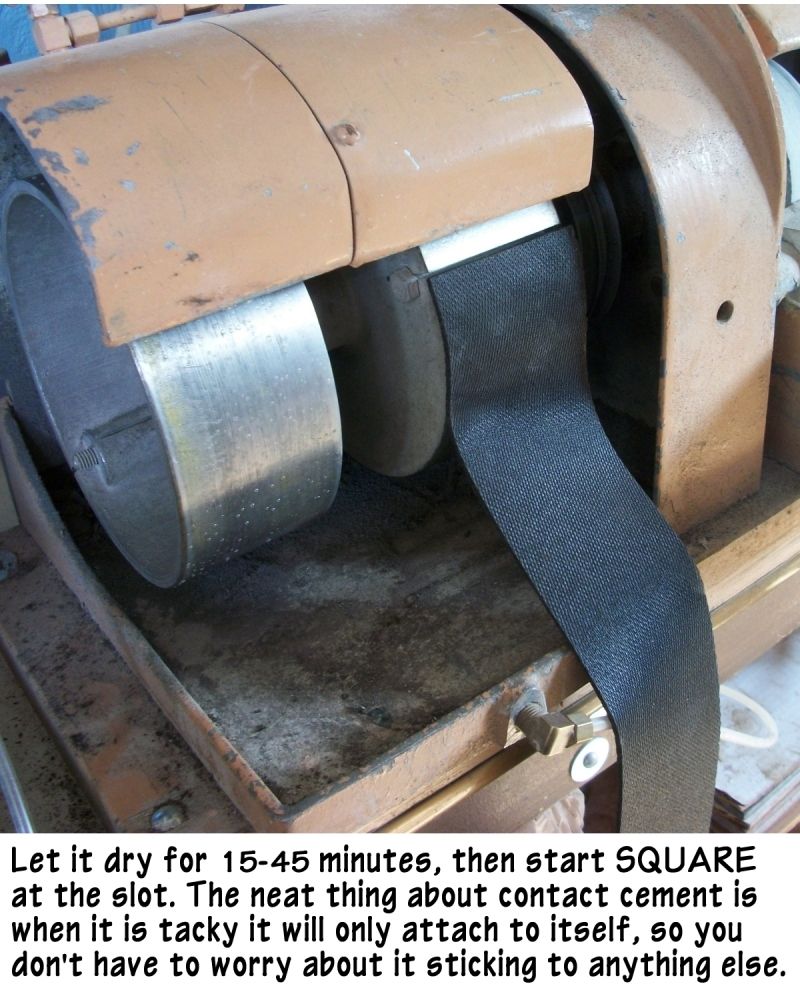
The neat thing about contact cement is that when it starts drying, the only thing it will stick to is itself, so you don’t have to worry about getting it on your fingers, tools, or equipment!
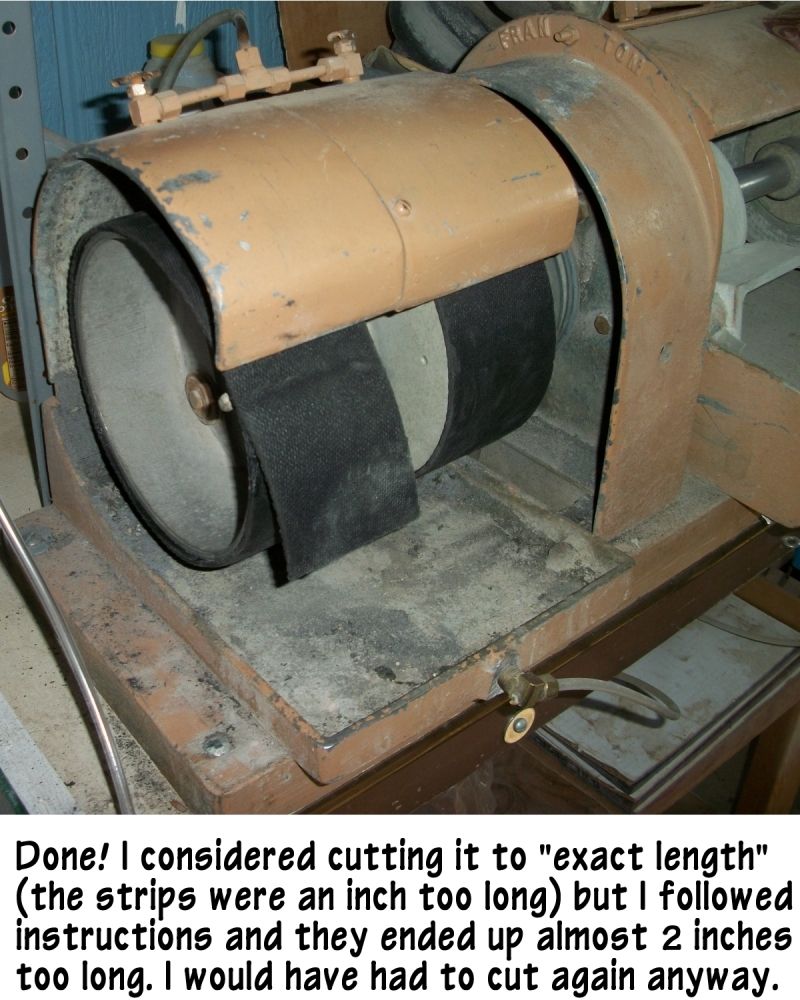
#6. “If there is excess material, trim it off at the slot.” I had wrapped a strip around a drum before applying the cement and determined it was about an inch too long and considered trimming it to size, but decided to follow the directions. They ended up around TWO inches too long, so I would have ended up cutting them twice.
Huh! Following directions actually works! The drum slot allowed for easy and accurate cutting the next morning, and the job was over.
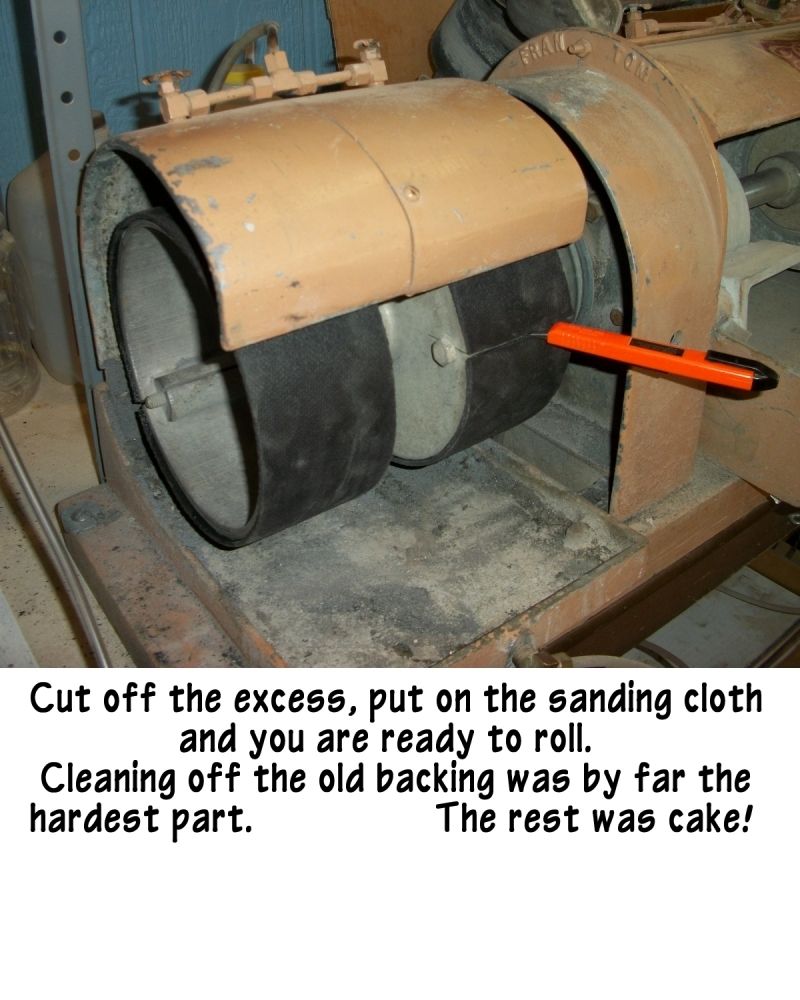
The hardest part of this project was mentally getting into it, then removing the old backing. The rest of it was cake.
The rubber backing on my old Frantom (yes, THAT old!) leverlock 8" sanding drums have turned hard and brittle so I searched for repair information.
Around 1950 Thomas James Virgin and his wife, Fran, put their names together to make the Frantom brand in Gardena and Hawthorne, CA., where they made saws and grinder/sander units for us rockaholics.
Around 1981 Frantom was acquired by Contempo Lapidary in Sylmar, a district in the San Fernando Valley, who continued to make combination lapidary units and saws. Contempo Lapidary was acquired by Diamond Pacific Tool Corporation in 1997. They seem to be into all diamond wheels. No help expected there.
I did a web search for leverlock sanding drums and up popped Covington Engineering, who still manufactures leverlock drums! I called them at Toll Free: 1-877- 793-6636.
To my pleasant surprise Judy, the lady that answered, knew exactly what to do!
Apparently I’m not the only one with this problem.
1. Order their rubber replacement strips - 3" X 25-7/32" at $4.75 each.
2. Scrape off ALL of the old material.
3. Sand if necessary to get a smooth surface.
4. Clean with acetone.
5. CAREFULLY attach the new strips using contact cement.
You will need something to hold the strips tightly in place for 24 hours before using.
6. If there is excess material, trim it off at the slot.
#1 One was the easy part. Believe it or not, they willingly sold me the strips! They arrived long before I got brazen-faced enough to start removing the old backing.
#2. “Scrape off all of the old material.” A dirty job but a heavy duty putty-knife / chisel makes quick work of most of the old brittle rubber.
By wedging the putty knife into the corner of the drain pan and hand spinning (hard, but doable) the drum, fairly long strips of rubber came off.
There was a lot of rubber still attached to the old contact cement, but running the machine with a stiff wire brush held against it removed 90% of what was left.
Most of the rest of these photos were taken with the machine running, but the camera is so fast you can't tell.
Removing the old contact cement was the hard part. I tried lots of wild and crazy ideas, but what worked best was to hold the end of a file against the drum like a wood turning tool (NOTE: Do NOT turn the tip up! Serious bodily harm could ensue!) while the machine ran, removed most of it.
#3. “Sand if necessary to get a smooth surface.”
Holding finer and finer grades of sand paper against the drum with two hands (NOT like in the photo. I had to use one hand to snap the picture) so the grit curves to the face of the drum did a good job once the last of the rubber was gone.
#4. “Clean with acetone.” I finished scrubbing with steel wool, then wiped the faces with acetone as directed.
#5. “CAREFULLY attach the new strips using contact cement.”
Home Depot had contact cement in two sizes. A 4 oz. Bottle for $5, or a 32 oz. Can for $10. I bought the can and their cheapest tiny paint roller for $2.
As it turned out, the small bottle would have been plenty for both drums.
I placed the new strips on cardboard, but the roller worked great and didn’t spill a drop. Dipping the roller in the can a couple more times and I had the drum surfaces coated also.
My cabinet maker friend told me he has waited as long as an hour before putting the two pieces together and never had a problem. I waited about 20 minutes then attached the first strip square and centered at the slot of the right drum. I turned the wheel backward and pressed the rubber firmly against the drum as I went. With about three inches glued, I stopped and took a photo.
Obviously the instructions “ You will need something to hold the strips tightly in place for 24 hours before using,” were not necessary.
The neat thing about contact cement is that when it starts drying, the only thing it will stick to is itself, so you don’t have to worry about getting it on your fingers, tools, or equipment!
#6. “If there is excess material, trim it off at the slot.” I had wrapped a strip around a drum before applying the cement and determined it was about an inch too long and considered trimming it to size, but decided to follow the directions. They ended up around TWO inches too long, so I would have ended up cutting them twice.
Huh! Following directions actually works! The drum slot allowed for easy and accurate cutting the next morning, and the job was over.
The hardest part of this project was mentally getting into it, then removing the old backing. The rest of it was cake.


 Have a lever-lock drum and when the rubber backing needs replacing, will be following your instructions.