notjustone
spending too much on rocks

Member since January 2017
Posts: 426 
|
Post by notjustone on Apr 19, 2017 11:06:21 GMT -5
ok here goes when I built my last set of barrels I built 2 eight inch pvc 8 inch long barrels. but the shafts I scrounged free were to short so I ended up cutting 2 inches off 1 leaving me with 1 eight inch long and 1 six inch. this morning I got around to gathering up and prepping the stuff for my 2 seven inch barrels. 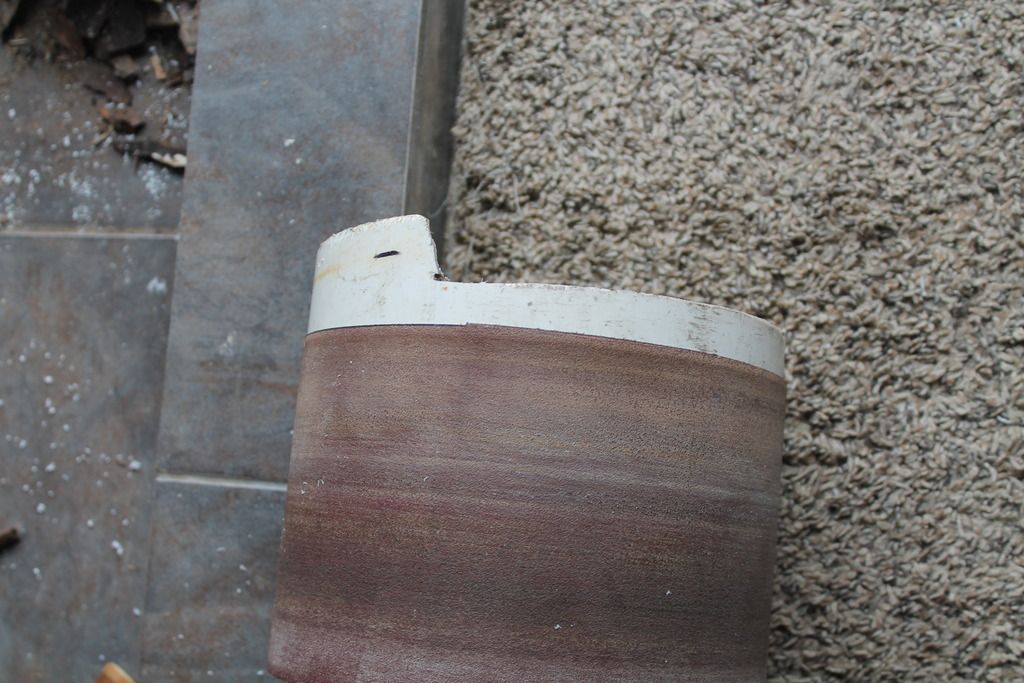 I first cut off an end square. I used to have nice leather wrap arounds for marking pipe but they got wet and warped. so I use a 6x48 belt sander belt to make a mark around the pipe with a sharpie. then cut around with a handsaw (hacksaw handsaw doesn't matter) run saw back and forth a couple times then spin pipe a little. repeat until your through. with 1 end nice and straight I put that end against the rip fence on table saw feed in till cut through then spin pipe to speed up cutting. but could be done all by hand. 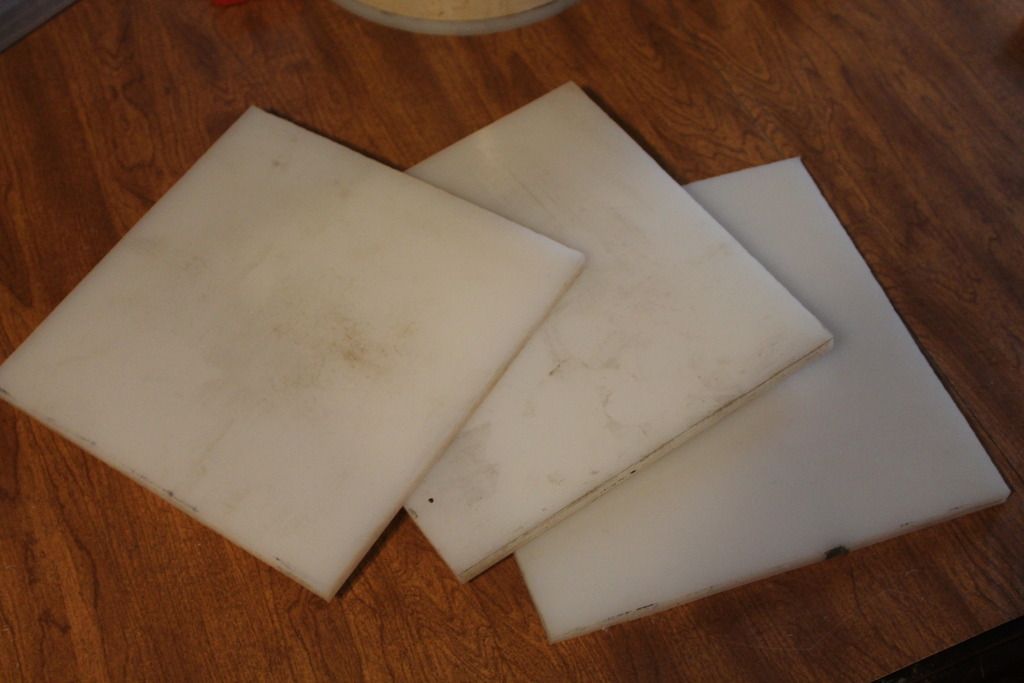 some cutoff pieces of uhmw plastic. pvc sheet would work I imagine just about any sheet of plastic or even lexan would work. I use uhmw cause when we cut the sheets for lining chutes your always left with big triangular chunks of scrap. so its free. even wood would work in researching tumblers I saw someone in a poor country using huge wooden drums. 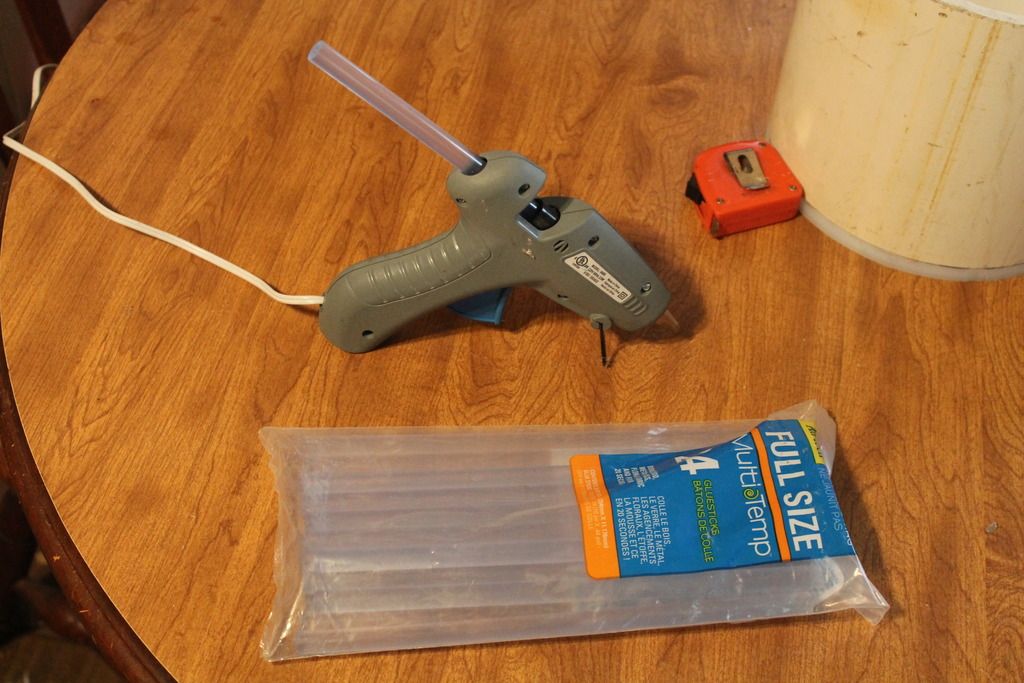 get the old hot glue gun out. 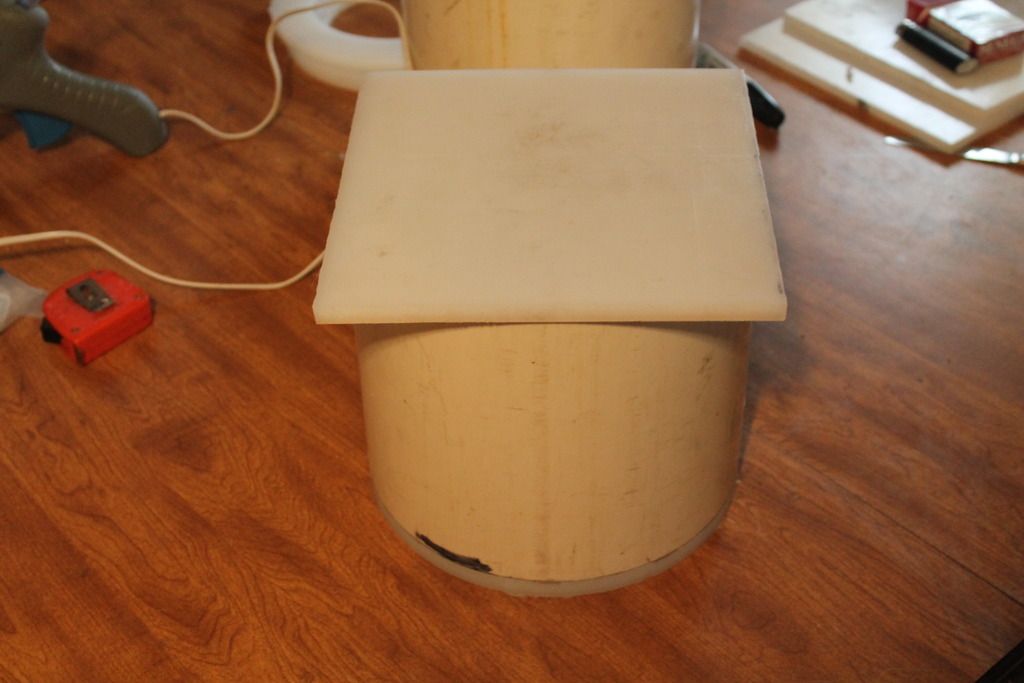 glue sheet to pvc pipe. doesn't have to be a perfect glue job its coming back apart later. 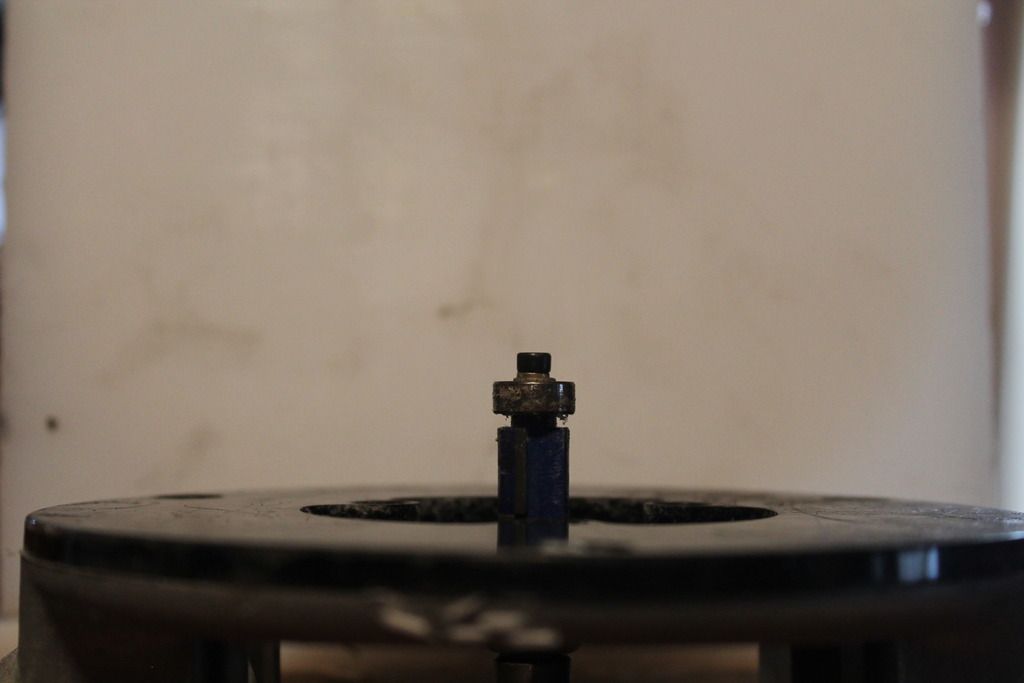 router bit with roller bearing guide. 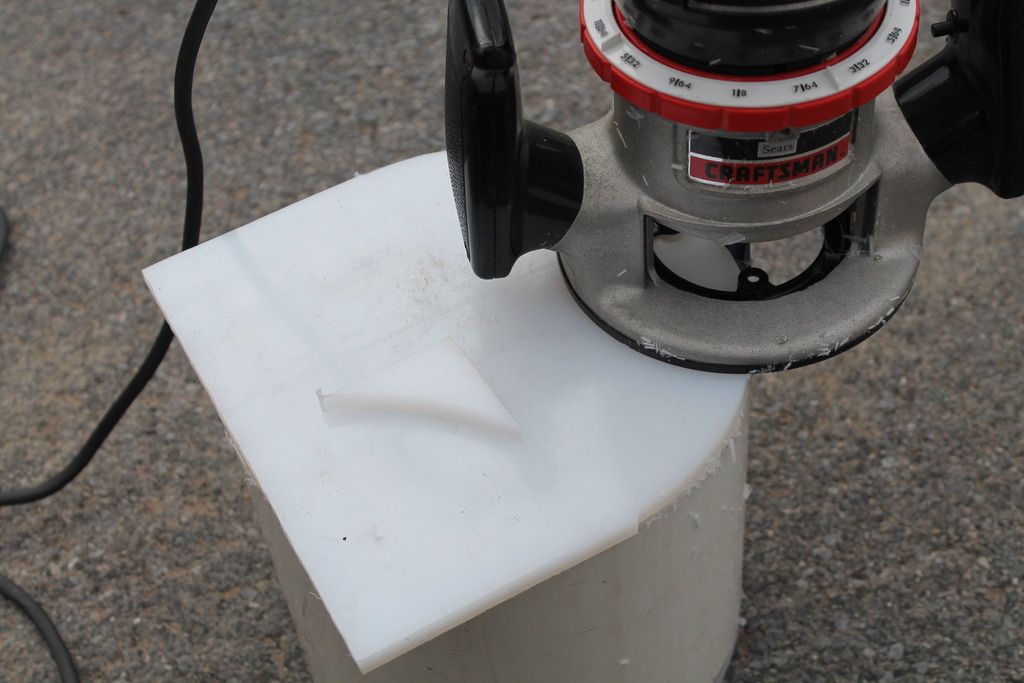 run around pipe 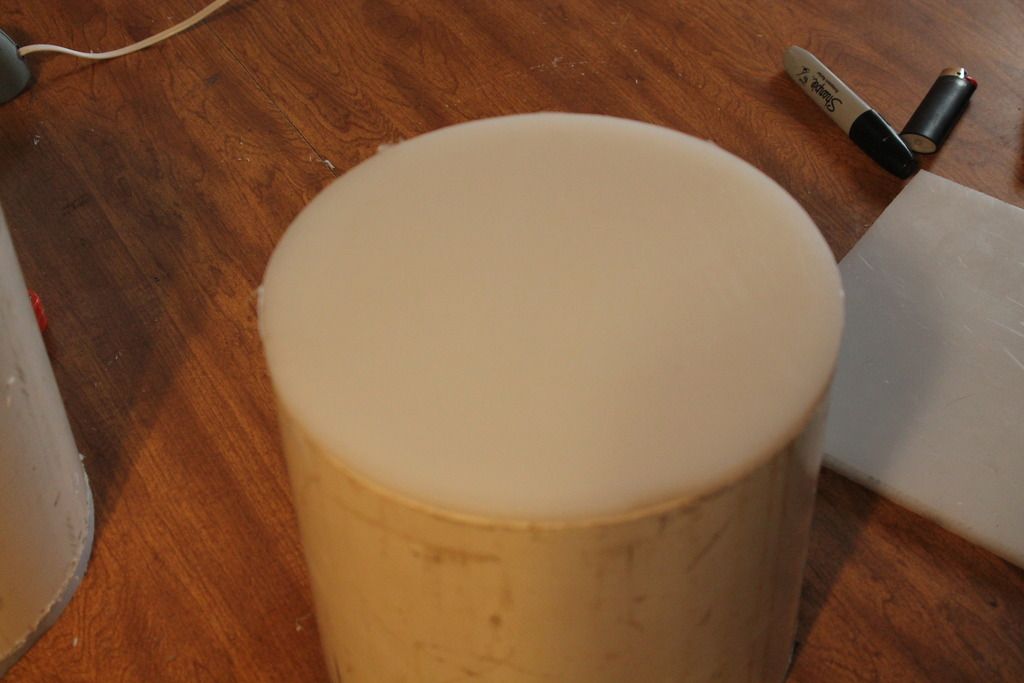 nice round pvc endcap. 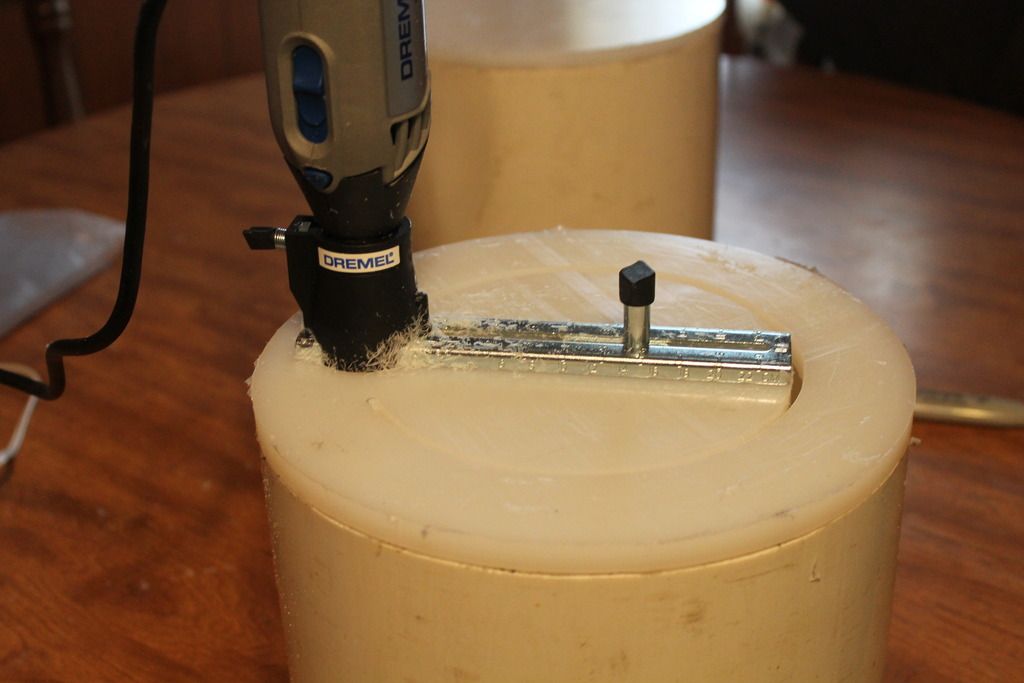 dremel with circle cutter attachment and spiral cutting bit. I used my rotozip last time but my circle cutting jig was broken and ghetto repared. wife just bought me the dremel 4000 and drill press workstation so I decided to use that this time. glad I did came out nicer. 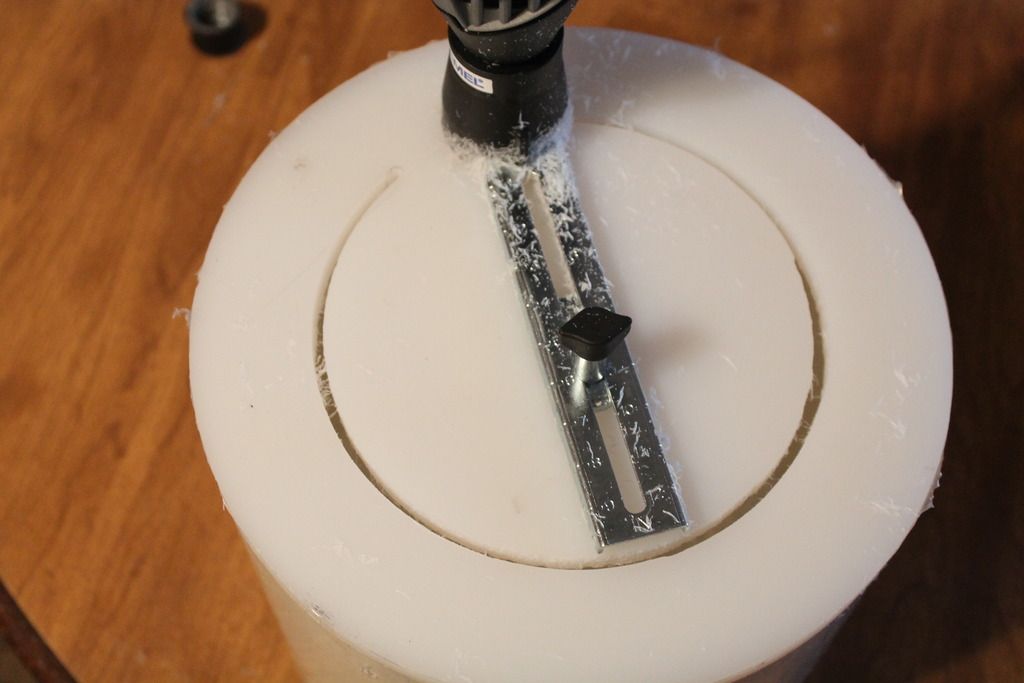 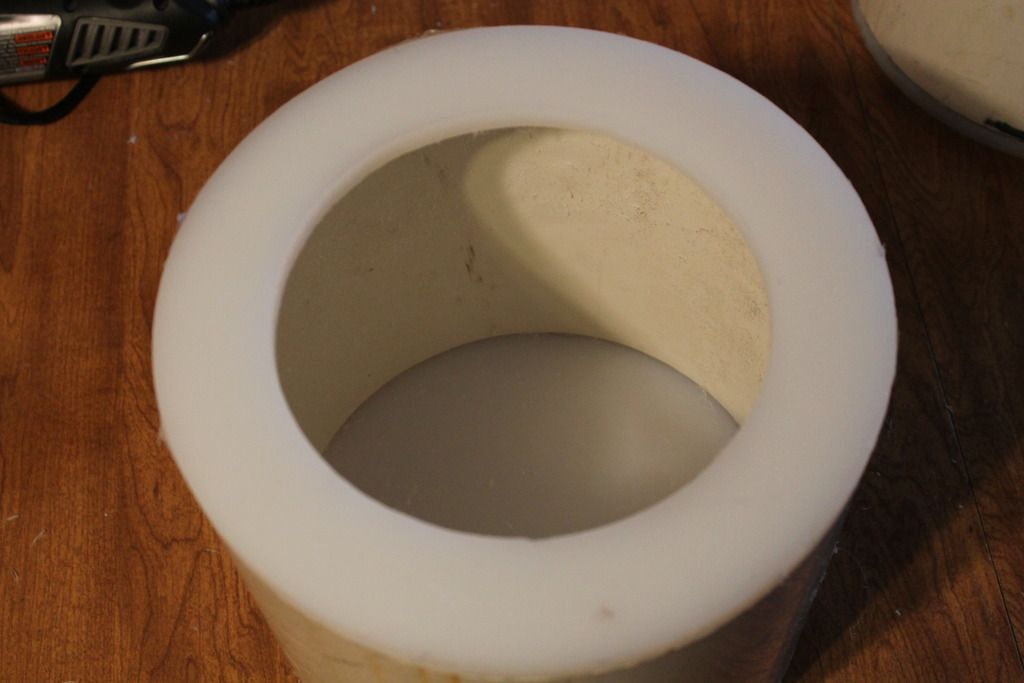 nice 6 inch round opening 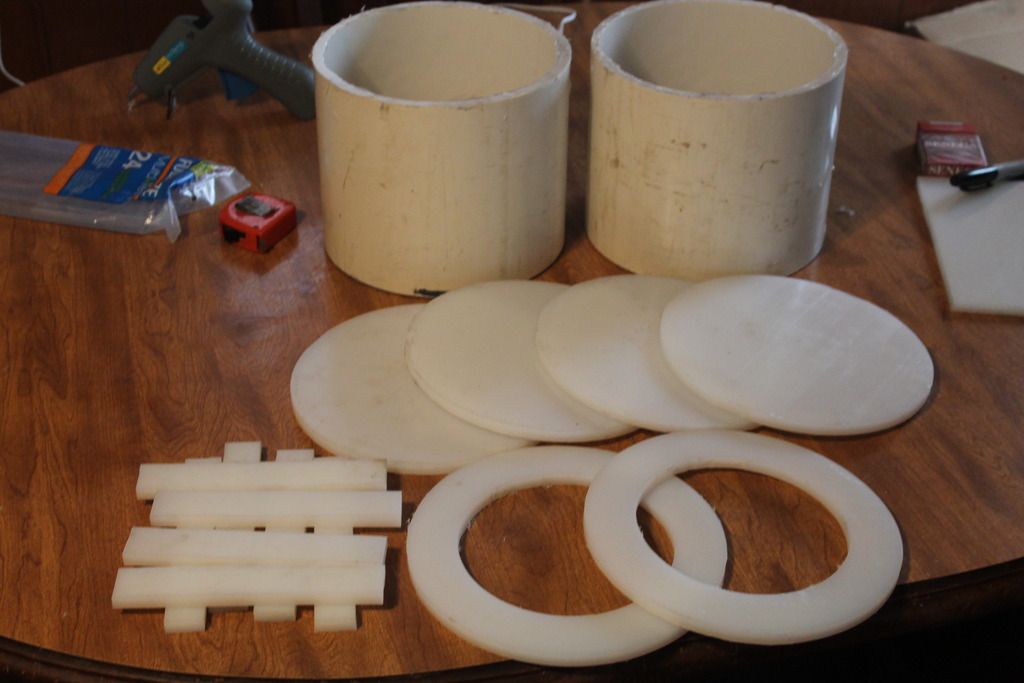 all the parts for building 2 eight inch pvc barrels 7 inches long. that's as far as I got this morning before I leave for work. to be continued. |
|
Tommy
Administrator 
Member since January 2013
Posts: 12,673
|
Post by Tommy on Apr 19, 2017 11:18:08 GMT -5
Excellent project details and photos  I can't wait to see how it progresses! |
|
|
|
Post by captbob on Apr 19, 2017 12:03:17 GMT -5
You do more before leaving for work than I have planned all day!
Okay... maybe more than I have planned for the rest of the week.
I cleaned out 2 tumblers and have been monitoring a couple rock chunks running on a vibrating lap and thought I was doing well.
*sigh*
Looking forward to seeing the rest of the process.
Think I need a nap after reading of your barrel build.
|
|
notjustone
spending too much on rocks
Member since January 2017
Posts: 426
|
Post by notjustone on Apr 19, 2017 22:27:18 GMT -5
You do more before leaving for work than I have planned all day! Okay... maybe more than I have planned for the rest of the week. I cleaned out 2 tumblers and have been monitoring a couple rock chunks running on a vibrating lap and thought I was doing well. *sigh* Looking forward to seeing the rest of the process. Think I need a nap after reading of your barrel build. I told my new boss a couple months ago that I go to work to rest so stop giving me so much work. I don't think he took me seriously. |
|
Tommy
Administrator
Member since January 2013
Posts: 12,673
|
Post by Tommy on Apr 20, 2017 0:18:21 GMT -5
notjustone - let me know if you need me to write you a note excusing you from caring about work Looking forward to the fruitful conclusion of this project - I have a spot reserved for you on our new DIY Projects page.
|
|
|
|
Post by melhill1659 on Apr 20, 2017 9:54:27 GMT -5
Omg'sh LOVING THE BARRELS!! I can't wait to see them finished. Don't you just love your Dremel and the handy workstation??!! I use mine all the time for everything. I also have the flex shaft attachment. I have to add the circle cutter next. My husband will thank you for telling me about it 😂
|
|
notjustone
spending too much on rocks
Member since January 2017
Posts: 426
|
Post by notjustone on Apr 20, 2017 10:33:47 GMT -5
Omg'sh LOVING THE BARRELS!! I can't wait to see them finished. Don't you just love your Dremel and the handy workstation??!! I use mine all the time for everything. I also have the flex shaft attachment. I have to add the circle cutter next. My husband will thank you for telling me about it 😂 she got me the set with 6 attachments and 50 accessories so it came with the flex shaft and circle cutter. first time ive used it. |
|
|
|
notjustone
spending too much on rocks
Member since January 2017
Posts: 426
|
Post by notjustone on Apr 20, 2017 11:03:19 GMT -5
as a side note I wondered this morning if I left out the paddles and epoxied say 30 grit diamonds to the inside of the barrel what would happen. the idea sprung into my head thinking of the big sandpaper type barrels they use to commercially peel potatos. like having a coarse diamond cabbing wheel from the inside. no worrying about grit recovery ect. ahhh I get these silly ideas sometimes.
|
|
notjustone
spending too much on rocks
Member since January 2017
Posts: 426
|
Post by notjustone on Apr 22, 2017 20:27:54 GMT -5
ok back at it. on last set I used rubber roofing material. this time I got ahold of some rubber gasket material. pretty simple trace out with sharpie marker and trim out with old scisors. fyi if you plan on using for different grits cut rings cause the rubber will wear out and grit will get trapped in behind it. since mine are only ever going to see coarse grit I just left them whole. when they blow out ill just trim them out to the inside of the barrel with an exacto knife after. 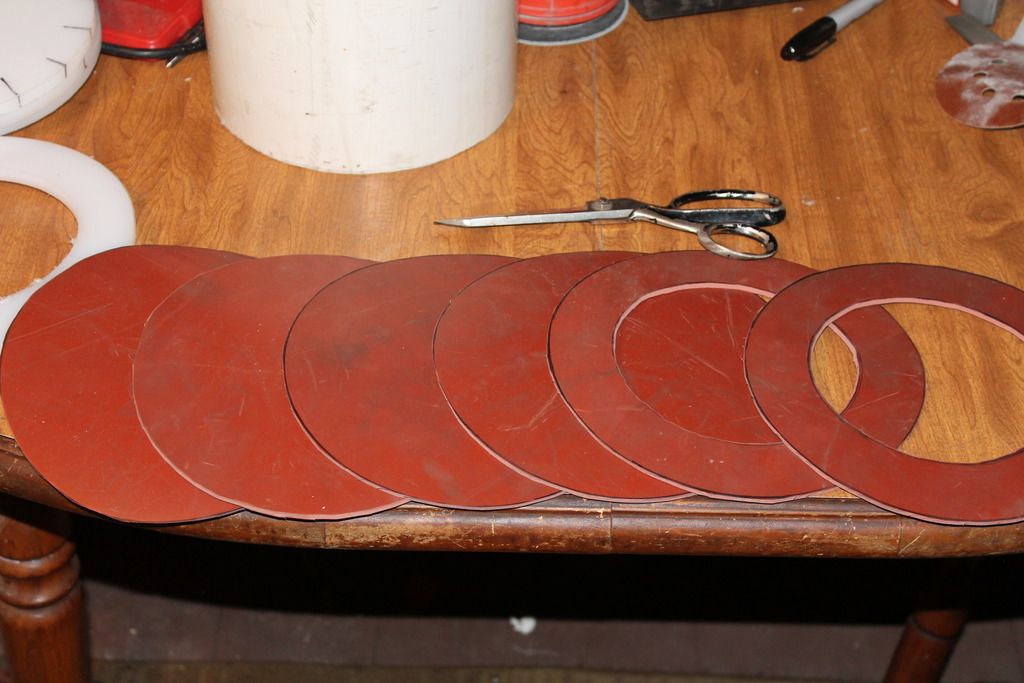 I mark out the 16 spots where I want screws. the lines are actually where the inside of the barrel is. I just eyeball halfway and drill pilot hole. I own 3 drill presses and yet end up doing them with a cordless drill cause its faster lol. I use the center drill to countersink. 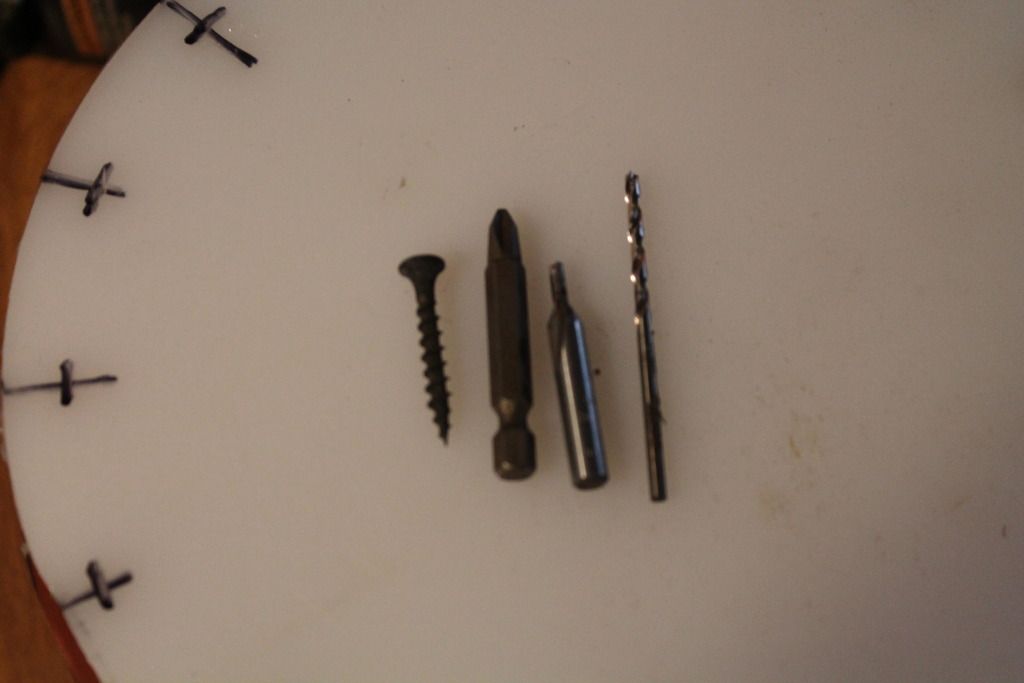 then run in 1 1/4 inch sheetrock screws.  I clamp a lid to the one with the 6 inch hole and drill holes through both. 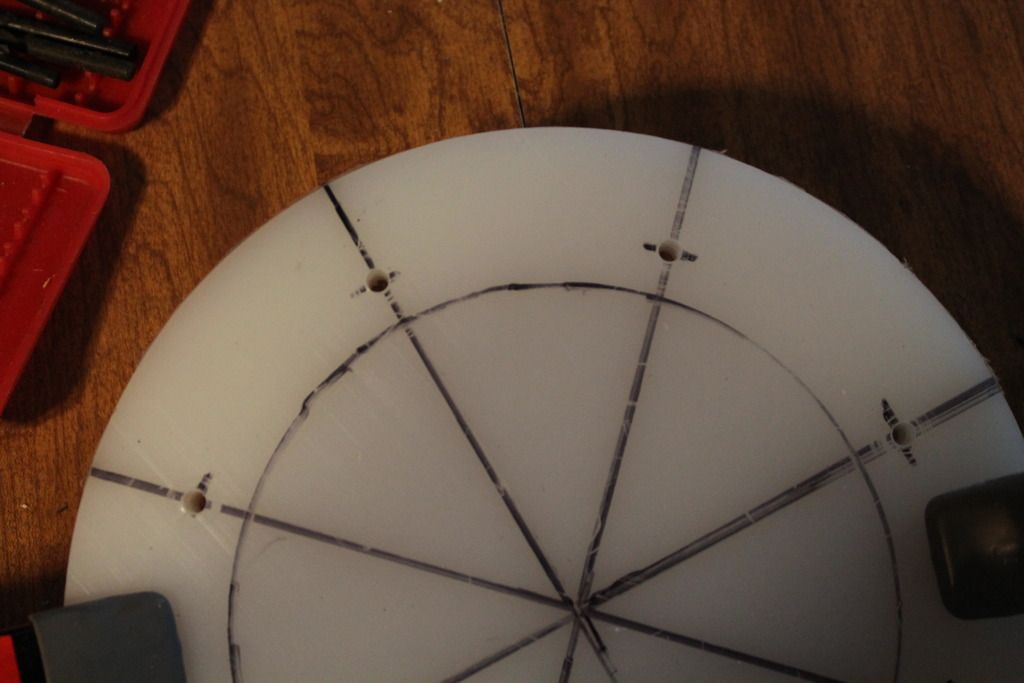 then drive carriage bolts into the "throat opening". I dilled holes small and drove them in because the uhmw is a pretty flexible plastic. so I drilled a 3/16ths hole for a 1/4 inch carriage bolt. so they would be very locked in and wont spin if you get some gook in a thread. the last set I countersunk the bolt heads to flush but couldn't find my forester bit. 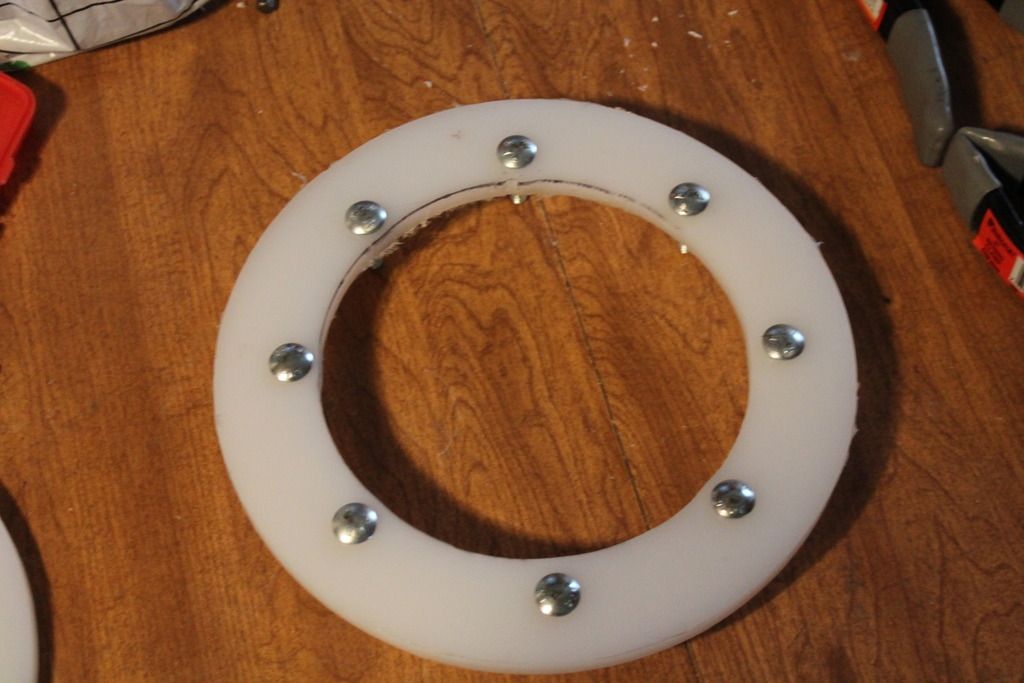 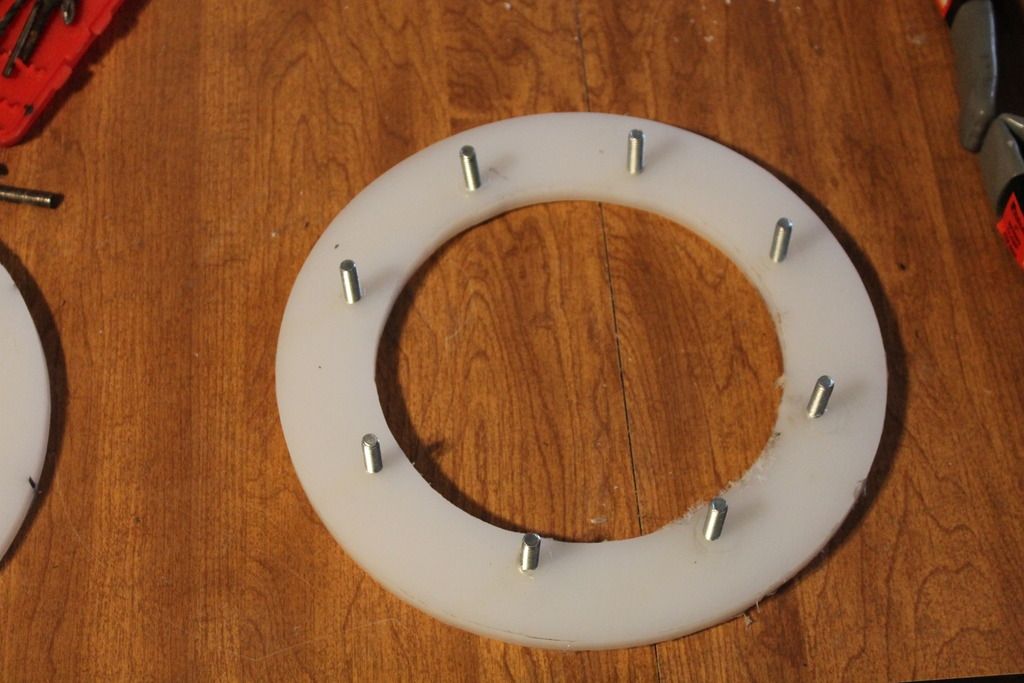 then drill holes in lid bigger to make up for slight misalignments.  screw top on same as bottom. add a washer and wingnut and finished. 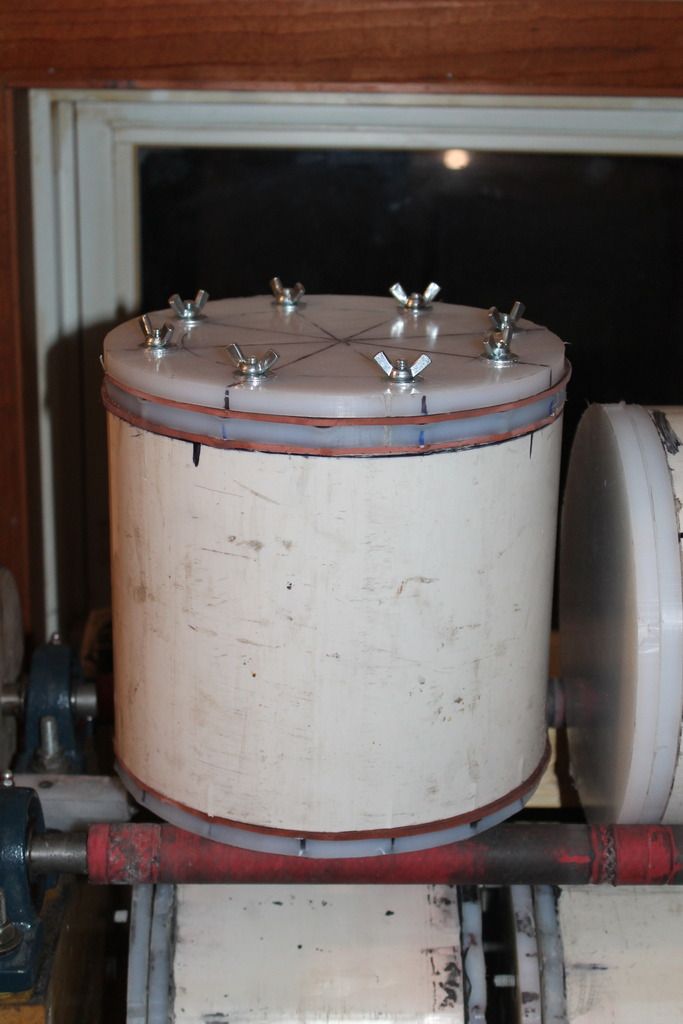 new barrel looking all pretty on top of woody. 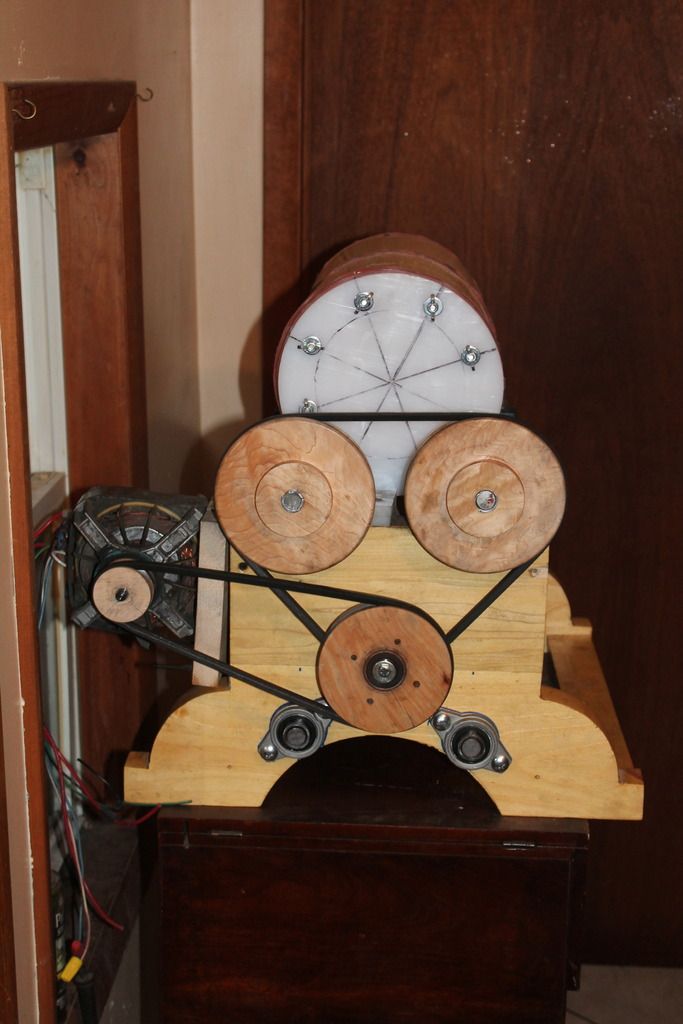 you didn't think I was going to throw out the other 2 barrels did you? ok you got me top isn't done on the 1 barrel and gaskets need to be trimmed with razor knife.  drive for bottom off end of top shaft. didn't round off edges like the puleys on other end cause I just stacked all 3 and turned them at once. easier to get them all the same size. and I was getting tired. 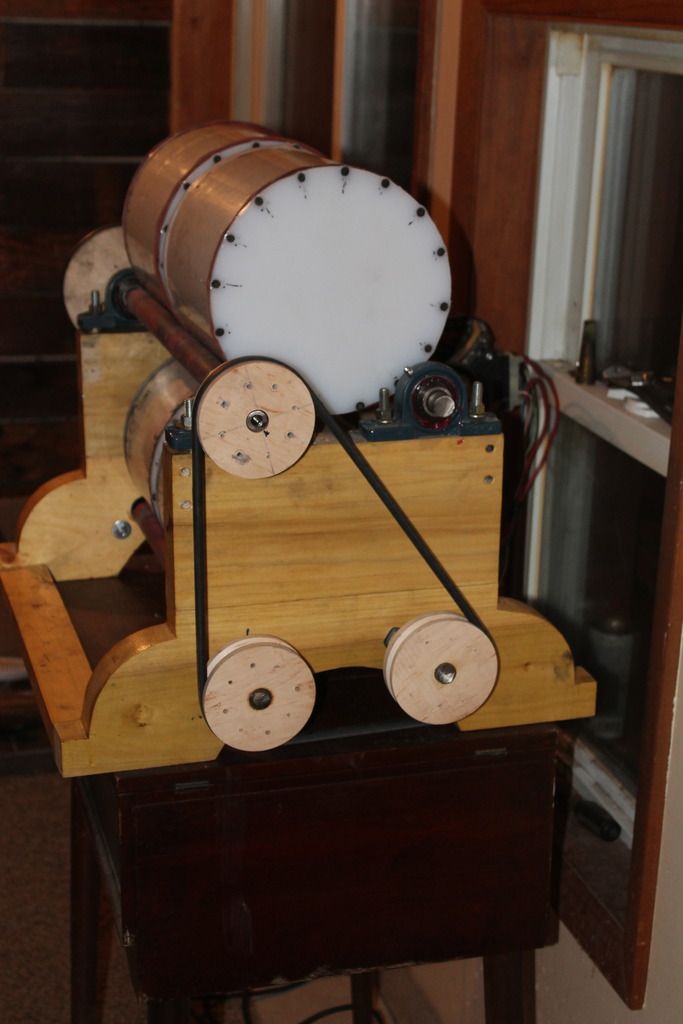 |
|
notjustone
spending too much on rocks
Member since January 2017
Posts: 426
|
Post by notjustone on Apr 24, 2017 10:36:04 GMT -5
woody is back in the laundry room. all 4 barrels done and spinning. I don't get it I weighed one of the 7 inch barrels on bathroom scale loaded about 75 percent full then reweighed. holding about 15 lbs. although it looks in reality much bigger than my ar-12 barrel I don't think my ar-12 could hold 12 pounds unless it was all really small stuff tightly packed. either way times 4 I'm tumbling 60 lbs I guess I can live with that.  |
|


 I can't wait to see how it progresses!


 Al Falfa


