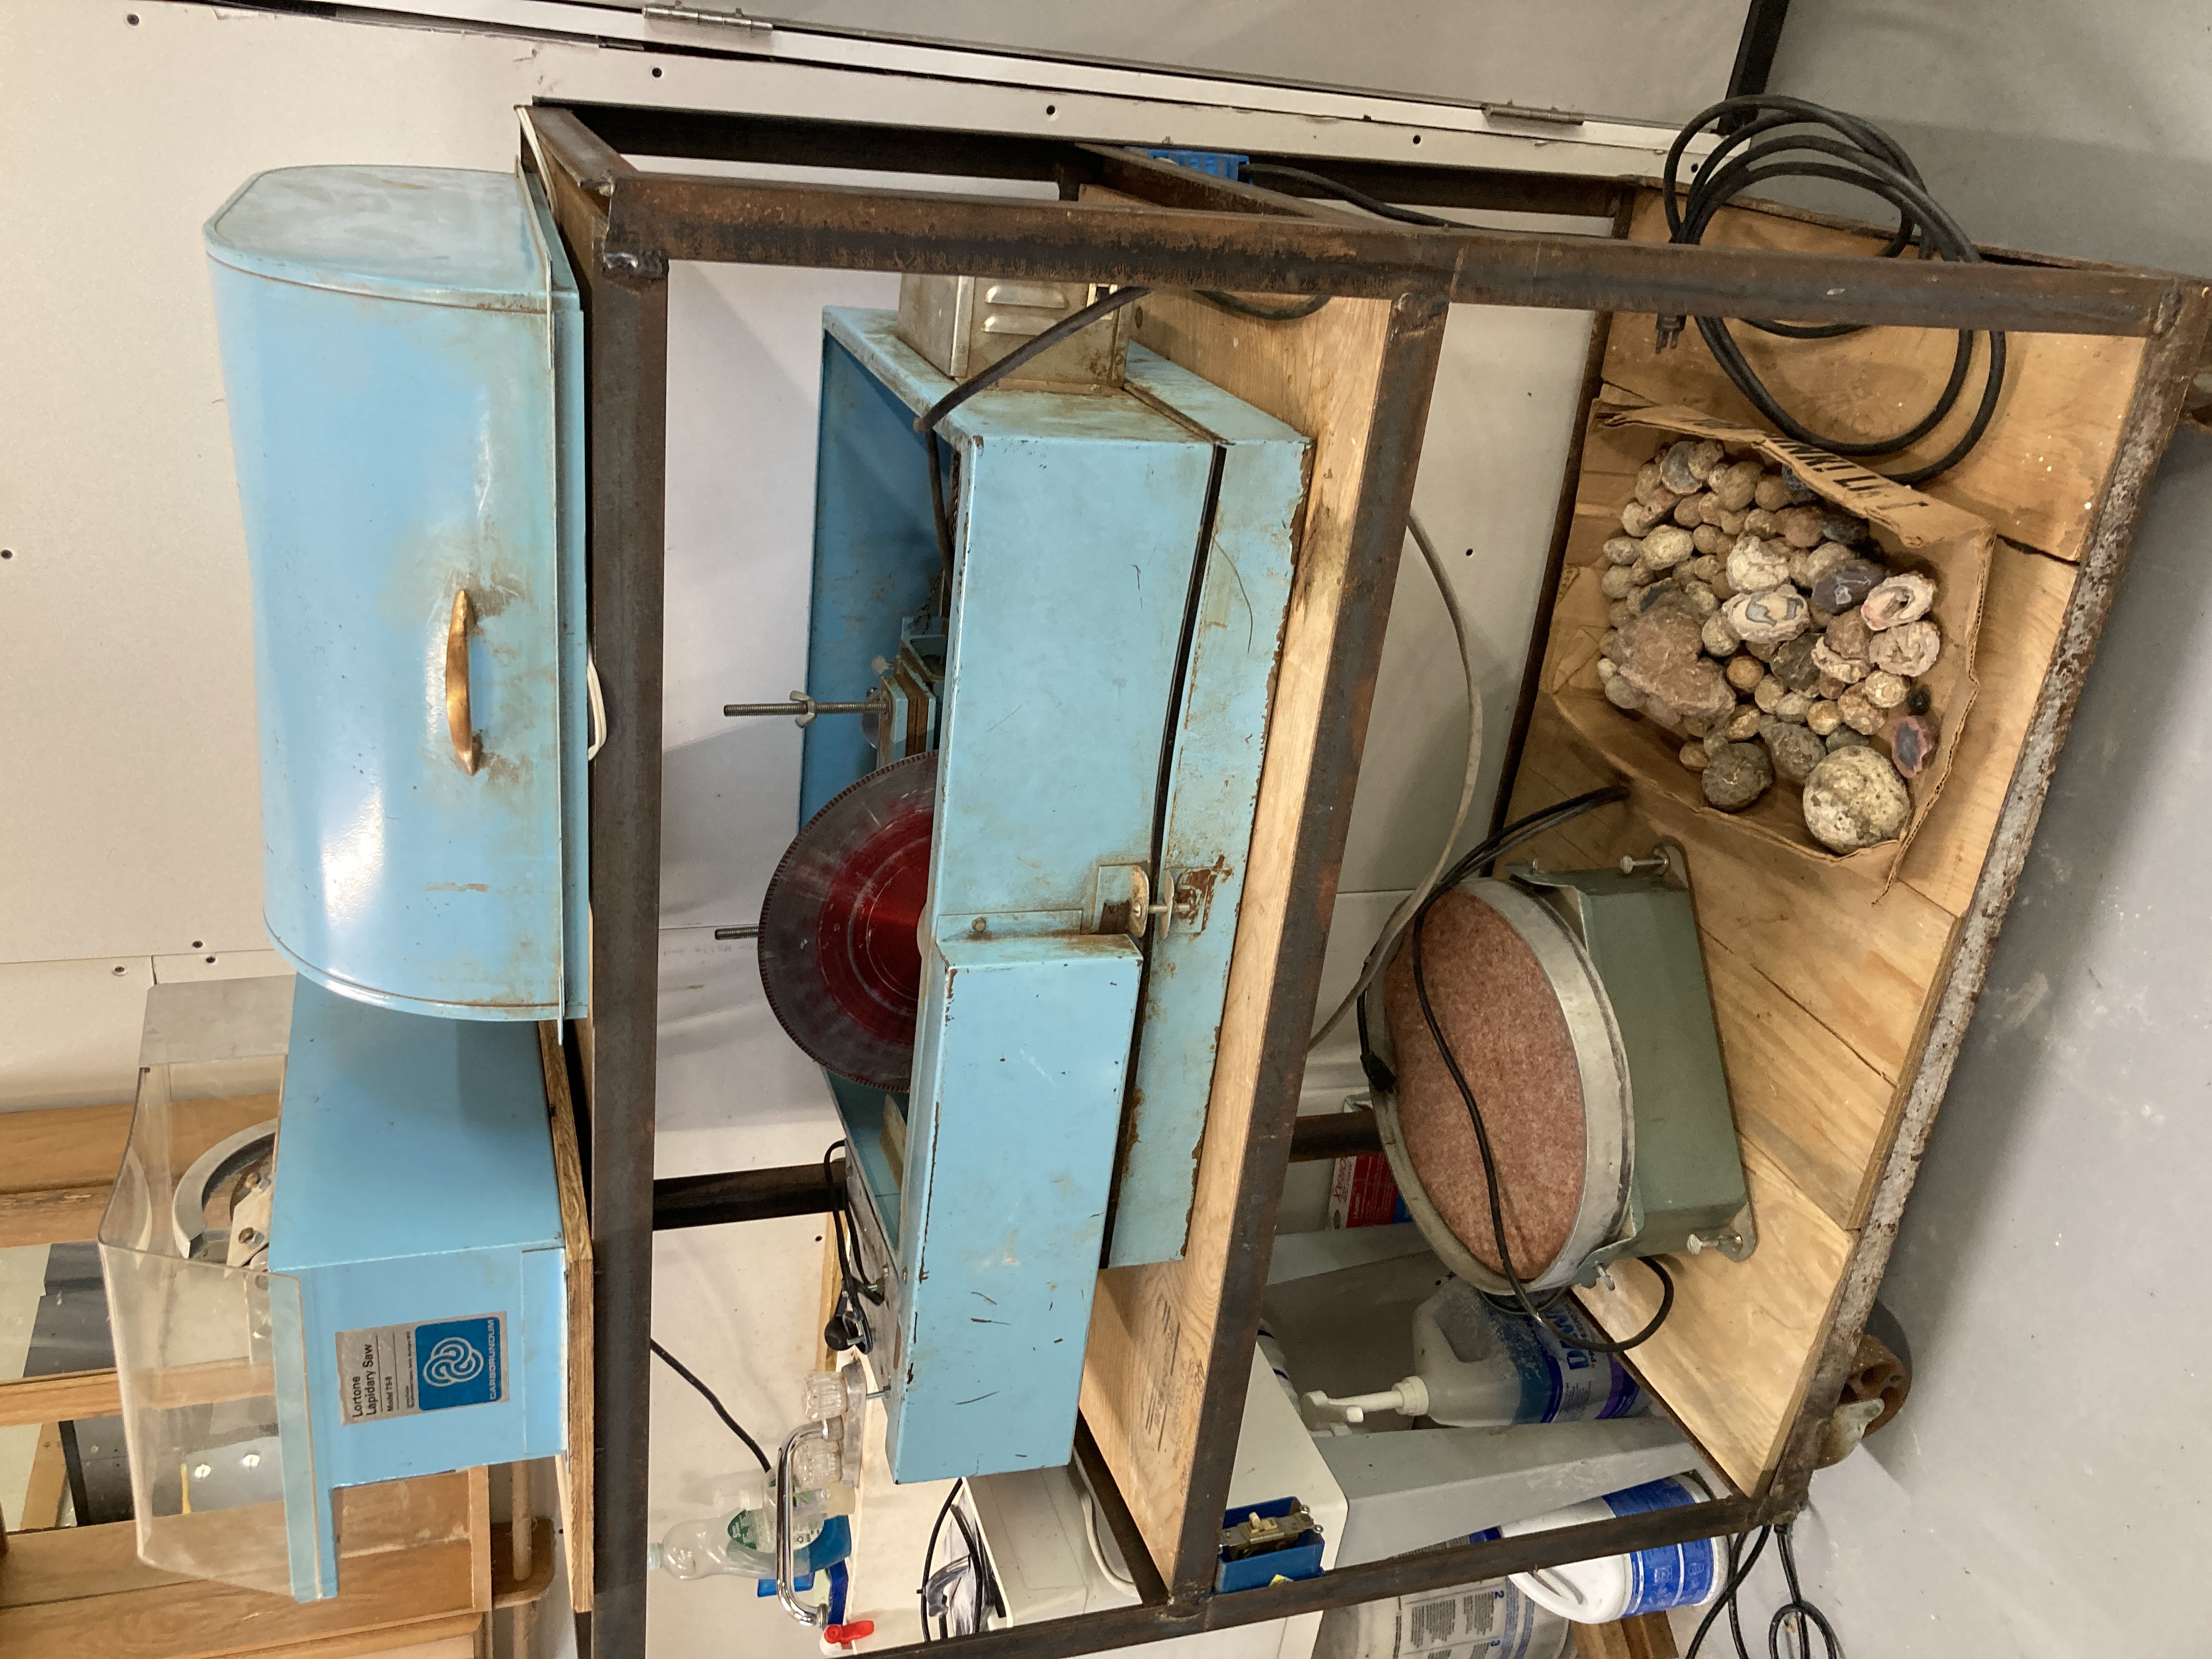
I sort of accidentally acquired a 16 inch Raytech Vibratory Lap today (bottom shelf in the pic). (Went to buy something else entirely, but opportunity knocked.) I'm excited to get to play with this thing, but didn't set out to buy one, so I'm a bit foggy as to what to do with it.
I have worked with a High Tech slant cabber and a Cab King cabbing machine, but I'm not sure how to proceed with this new thing. I've made some stuff that could be (and maybe should be) flat, so I can envision using it for some of those types of projects, but I'm not entirely sure how to proceed, and it didn't come with a manual.
I know it will need water because ... well ... lapidary. But how much? Should the whole slab be under water or just a bit to keep the grinding surfaces wet?
Should I expect it to be slower or faster than a tumbler? How many grits do people usually do on these? How much grit does it take for a 16 inch? There's a carpeted pad in it. Are all grits run in a pad?
What kind of projects do people prefer this particular machine for?
I have 2 of the Lortone versions but I think the vibra lap knowledge is pretty universal. Be sure that your pan isn't dished out by laying a level across the middle before you set it up!! Dished pans do not a flat rock make! There are a few threads around here talking about resurfacing the pan to get it flat or getting replacements should you need to.
Keep in mind, I have just started using mine in the last six weeks but here's what I've got. Use what is helpful to you and discard the rest.
TIME & NOISE:
Timewise, it took me a couple days running my machine off and on to polish 2 specimens of petrified wood and one previously polished Montana agate (surface was scratched to hell and I still am not happy so there are no photos of it) to completion. Currently working a pile of cut agates & thunder eggs on stage 1.
I don't find my machine particularly noisy IF it's running level and loaded right with pieces moving around on their own. I've found that noise will let me know if something isn't right (not loaded enough, uneven, grit drying out). If I don't put enough rock to cover at least 2/3 of the surface everything moves to one side or nothing moves at all. Weird, but whatever.
EQUIPMENT:
There should be a ring of tubing (pan bumper) that fits just inside the pan edge and prevent rocks from rubbing against the sides and also saves your ear drums. Cheap to replace. I think some PVC waterline hose (like you'd use for a fridges icemaker line) is about the perfect stiffness to make your pan bumper/pan ring. I have different pan rings for each pan since I have 5 pans, otherwise I'd just wash them religiously and have one for grit stages & one for polish. I'm not sure how much it matters to each stage, since you'll have bumpers to protect your rocks & limit any contamination from touching the bumper anyways. All of the grinding stages are done in the bare pan with just grit & pan bumper. Polishing is done with pad & polish & pan bumper.
You'll also need invest in some kind of bumpers for around the rocks, both to protect them from each other, and from shredding the inner barrier of the pan. I've found wide rubber bands work OK (layer up 5 or 6 so you get a nice ridge around your rock) but joining cheap sections of tubing works pretty well too as long as you're monitoring it often. Tube bumpers can ride up on top of each other if they're not tight around the rock. I've also seen people use sections of PVC pipe which I want to try since it's more rigid, but it's also $$$ unless you can find scraps from someone's plumbing project (this is my next plan, because rubber bands are messy but inexpensive, and tubing is easy but requires checking).
Make sure your lap is level on the floor or it'll make a racket and may "walk around" - I haven't had this issue but my concrete floor is pretty rough. Ensure the whole machine is level again once you have your rocks in the pan or they'll all move to one side and zero grinding will get done. Some people will secure them to a couple cinderblocks or even to a tree in the yard or build a fence around them if the walking is an issue.
As always with grinding, ensure you clean everything between stages to prevent contamination.
SLURRY:
You want the slurry to be about the thickness of heavy cream or pancake batter. The instructions I found said 1/3-1/2 cup water and a few tablespoons of grit as a guideline. I will warn you, it gets a bit messy while you're figuring out the slurry consistency!! Put some sort of barrier around your machine, even if just a large cardboard box to act as a splash guard. You will need to watch the machine and check in periodically because that slurry dries out fairly quick. I've figured out that 1.5 hours is about the ideal time between check-ins and adding more water (not much, just enough to get it creamy again). Set a timer. If you add too much water, just add some time before the next check in, or add more grit. Don't go crazy. A lot of people complain about the babysitting aspect, but I've found it pretty low effort. I just start my machine when I'll be doing something else out in the yard, or cleaning my house, then the checking feels like a break.
ROCKS:
For my completed pieces, the cuts were fairly clean. I went from 220 to 600 to polish phase using the cerium oxide from Kingsley.
Try to ensure you choose pieces with the smoothest cuts so they polish evenly. Grind your saw nubs off as smoothly as possible or you'll end up with an uneven spot and want to tear your hair out when you don't realize until later

Otherwise you're going to need to run them a few cycles to get them flat.
If you're polishing lighter material, you may want to hot glue some weights to the back to push them into the grit otherwise they'll just float around your pan and not grind at all. Other rocks work great for this, some people use lead fishing weights. Other people do a 2-in-1 method and glue slabs or discs of rock/wood/metal about 1-2" bigger around than the piece to be polished. This weighs them down AND prevents them from hitting other rocks. (Around here, ain't no one got time for that). I think weight is mostly an issue if you're doing slabs or hard to polish pieces like nephrite jade. I'm polishing larger pieces so haven't had to weigh anything down....yet.
Once you've got everything set up and are ready to put in your rocks, color the flat area of your rocks with pencil or sharpie marker. Check on them after an hour or two and the leftover markings will show you both progress & any un-even spots. You'll know they're done grinding when all the marks are gone.
POLISHING:
That green carpet on the bottom appears to be a polishing pad. Check and see how clean it looks; you might be able to reuse it (presuming it's not too contaminated/you can tell what kind of polish was used before) or you might have to replace it. Apparently indoor/outdoor carpet (astroturf) or low pile carpet will work just fine. I haven't tried, but I don't see why heavy felt wouldn't work too. For polishing compound I used cerium to do a load of petrified wood and a beat up agate. I'm very happy with the shine. When you're done polishing, like anything else, remove your pad and put it in a plastic bag to prevent contamination. Label it with the type of polish used. Apparently spreadsheets are a good way to keep track, but I just make notes on whatever cardboard I have handy like some kind of heathen.
Pics:


 Otherwise you're going to need to run them a few cycles to get them flat.
 Al Falfa


