|
|
Post by krazydiamond on Feb 8, 2008 13:32:32 GMT -5
|
|
|
|
Post by Woodyrock on Feb 8, 2008 14:36:28 GMT -5
Very nicely done photo tutorial...not many people would need words to go with this fine presentation. I do realize that not everybody has made a vulcanized mould, or understands this process. Ms. Krazydiamond has caught all the steps in the evolution from start to finish. Very well done! You could title these shots, and publish in a small booklet form.
Woody
|
|
|
|
Post by Cher on Feb 8, 2008 14:48:47 GMT -5
Words would help me.
|
|
|
|
Post by docone31 on Feb 8, 2008 18:16:08 GMT -5
Poor KD,
I keep sending these random photos.
At any rate.
This is how a mold is both made, cut out, and the wax produced from it. I had previously sent photos of the casting process.
Mind you, you do not need a vulcanizer. A standard oven will work.
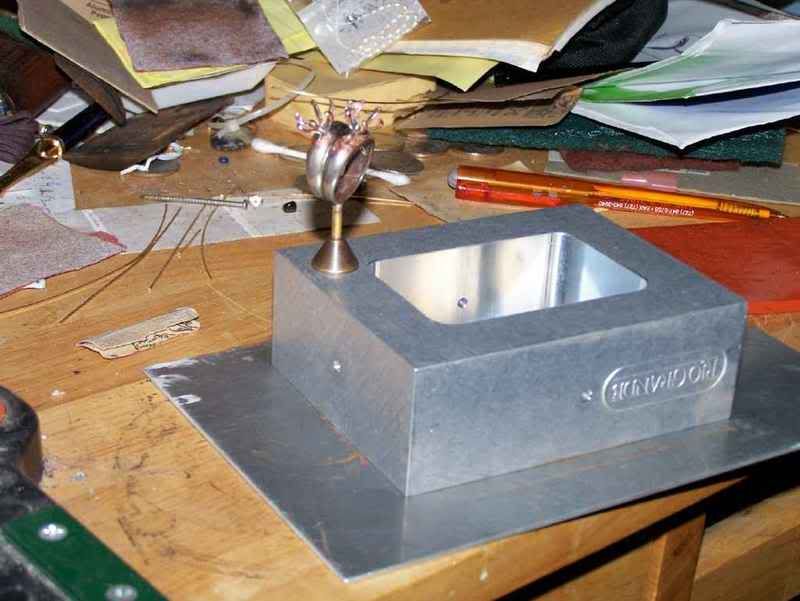
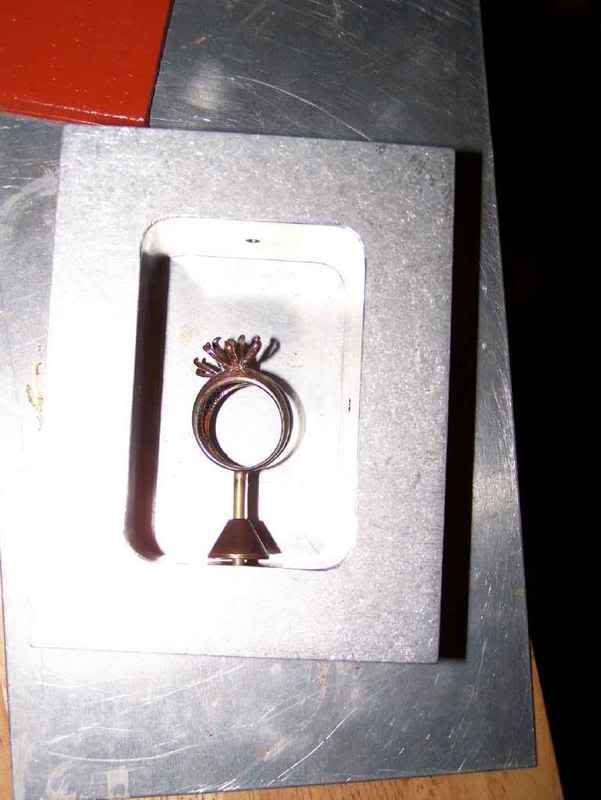
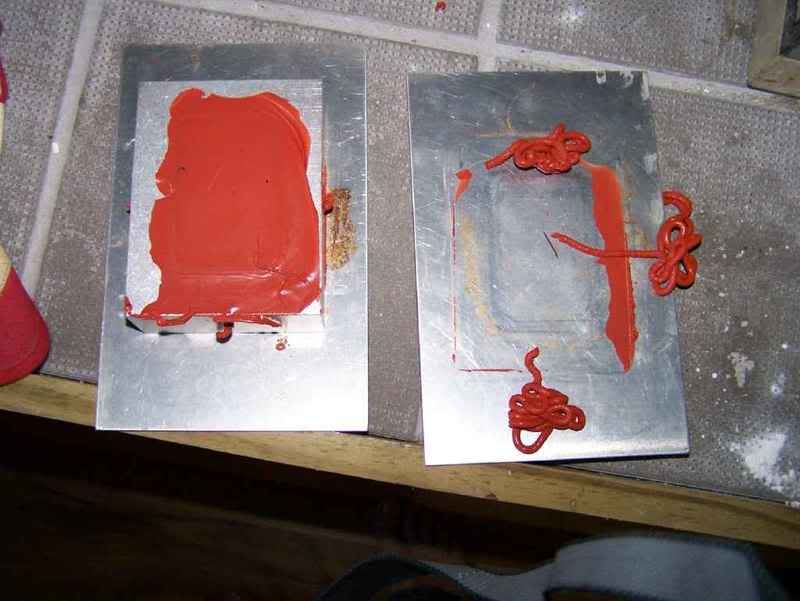
The first photo is one of the model. I have to make a ring for the Tranny Icecapades. The setting will not be possible to reproduce, but, I need the postion of the post hole to solder in a post setting.
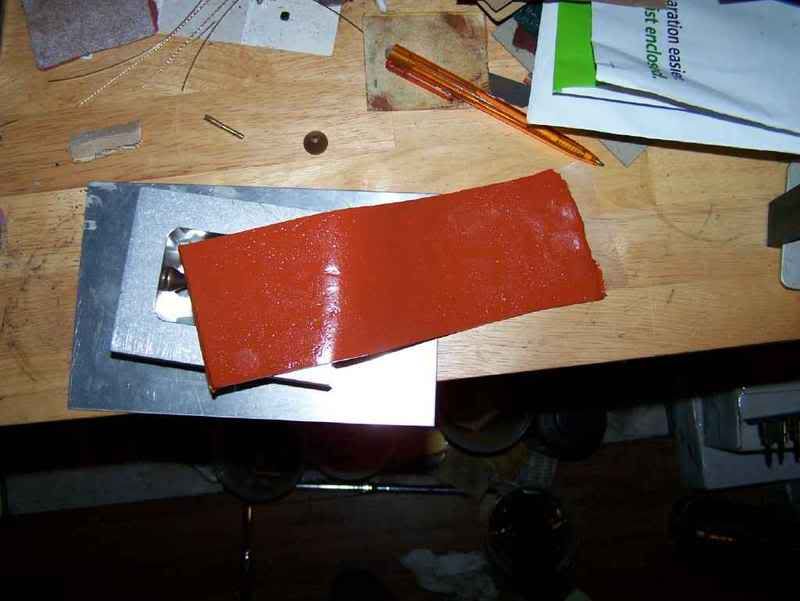
As the photos go, I am packing the mold with unvulcanized rubber. My favourite is silicone rubber.
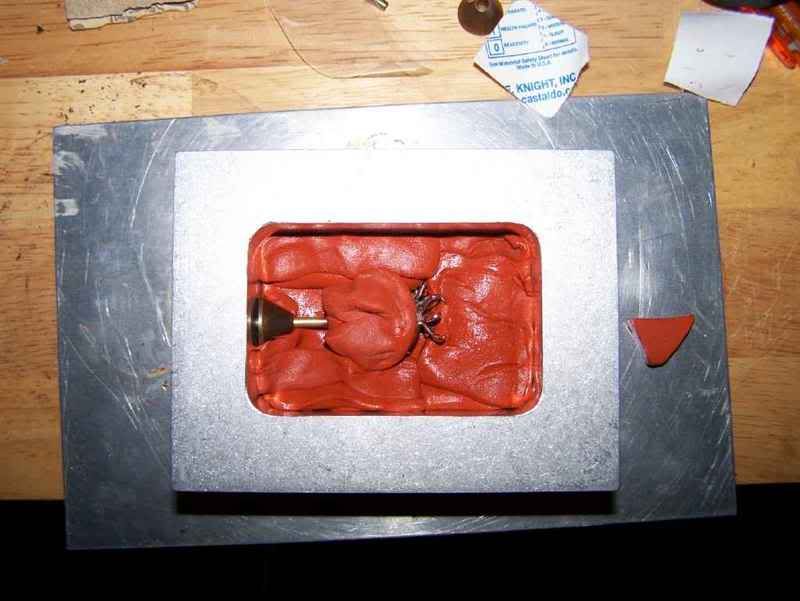
The sheets of rubber are layered into the mold frame. The model is set into the frame and rubber is packed around on both the inside, and outside. From that point, layering the rubber in sheets untill the mold is packed and a little above the top.
Not shown, are the two aluminum sheets I use to act as a layer above and below the mold.
I use 350* at 15 minutes a layer. This is a thick mold so I ended vulcanizing for 2hrs and 15 minutes.
As is shown, the rubber extrudes from the exit holes in the mold. This is how the voids are filled inside the mold aside from careful packing.
As the mold is cured, the extrusions are not cured and cannot be reused.
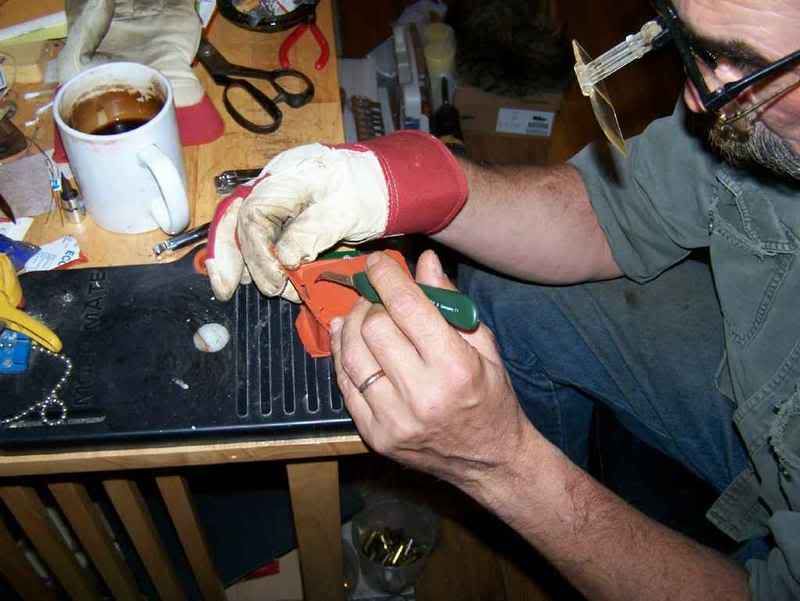
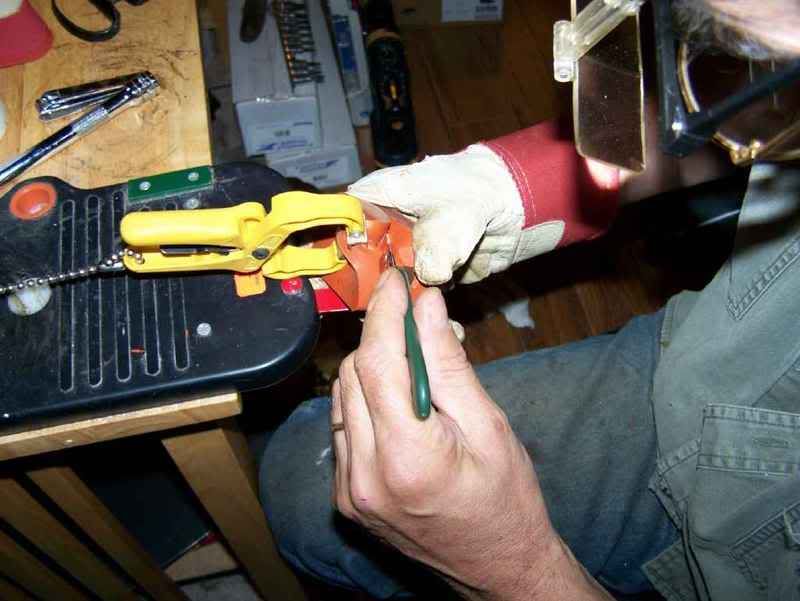
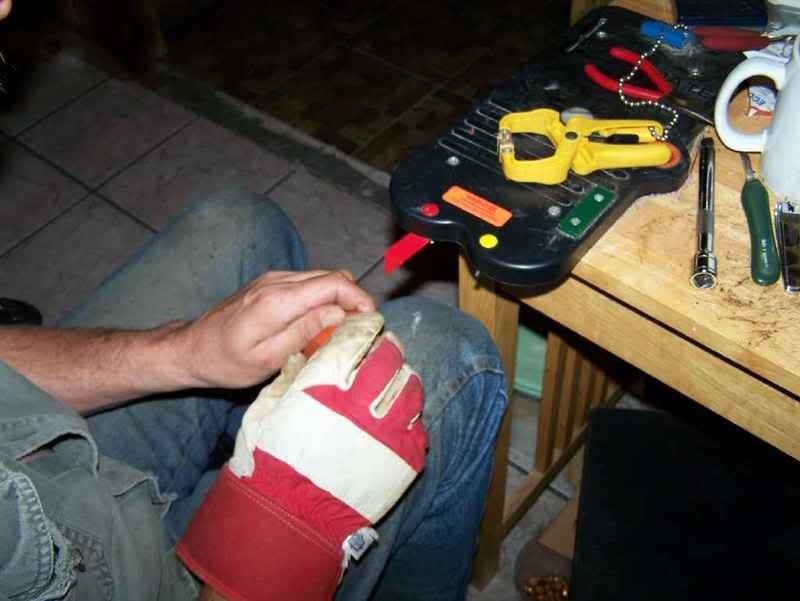
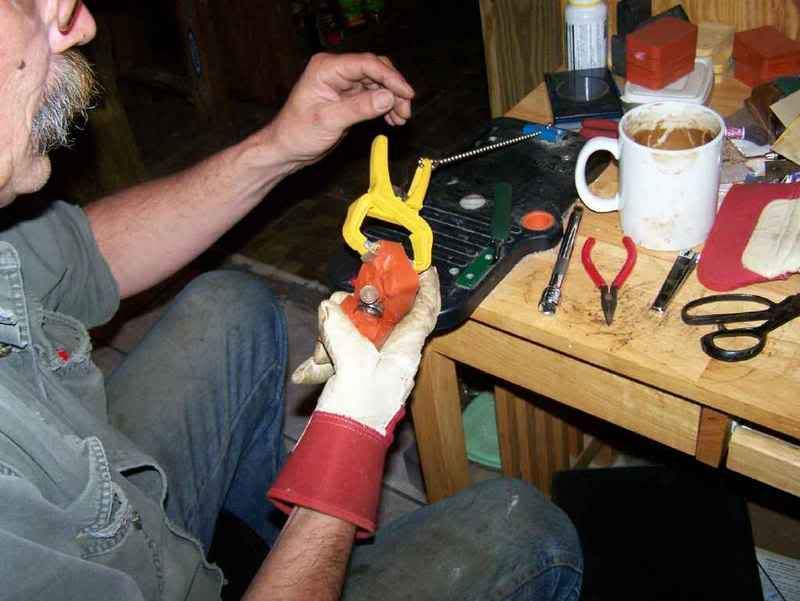
Next is getting the mold out of the frame! I found this thickness of mold extremely difficult. First, the mold is cut hot. Second, pressing that much hot rubber out of an hot frame can be painful.
My sprue.
I use a two part sprue. Primarily as I found it easier to get the model and mold out of the frame that way. Instead of using an one piece sprue with the button, I use a short piece that can be pulled out of the frame, releasing any resistance from the sprue towards releasing the mold. Models can be bent that way, same with sprue rods making the former button difficult to remove to cut loose the model.
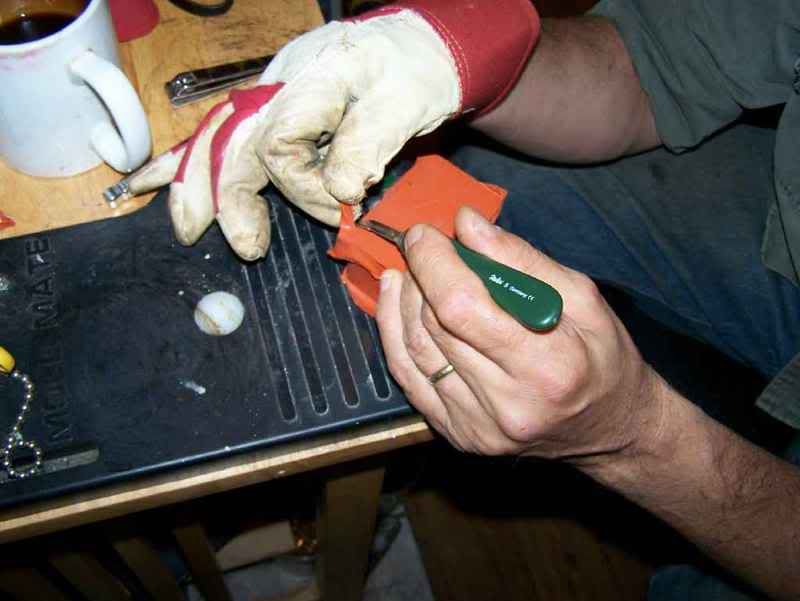
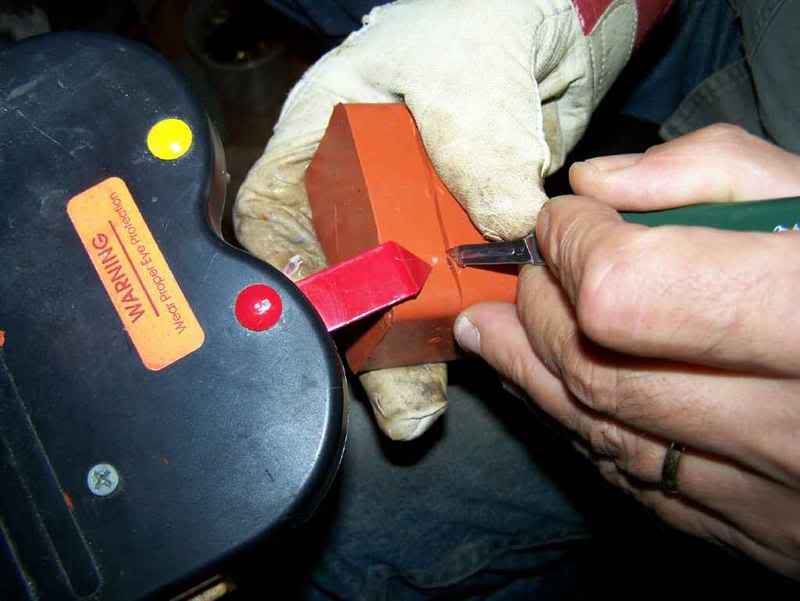
I use a scalpel, and used four bladed to make the cuts and parting line. I also cut formers in the corners rather using mold locks. I find is is simpler. That is also how the blades get broken. But, it works for me. Hot mold, and sharp blades makes short work out of mold cutting.
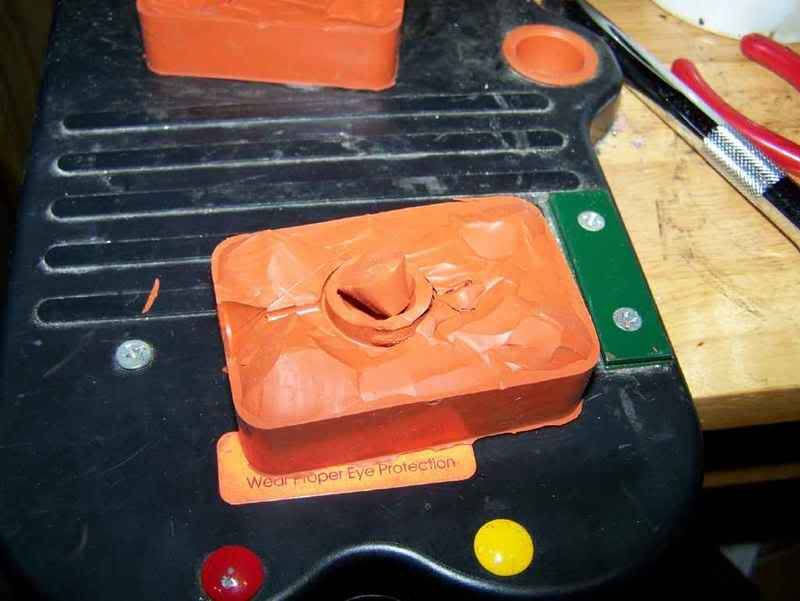
Down the photo shoot, you will see a cut out on one side of the mold, in the center. I have found, with hollow base rings, a solid center will NOT allow a ring wax to be pulled from the mold. Pressure on the mold is also an issue. I was using way too much pressure on my first molds. I got flash, voids, and in general it was a pain.
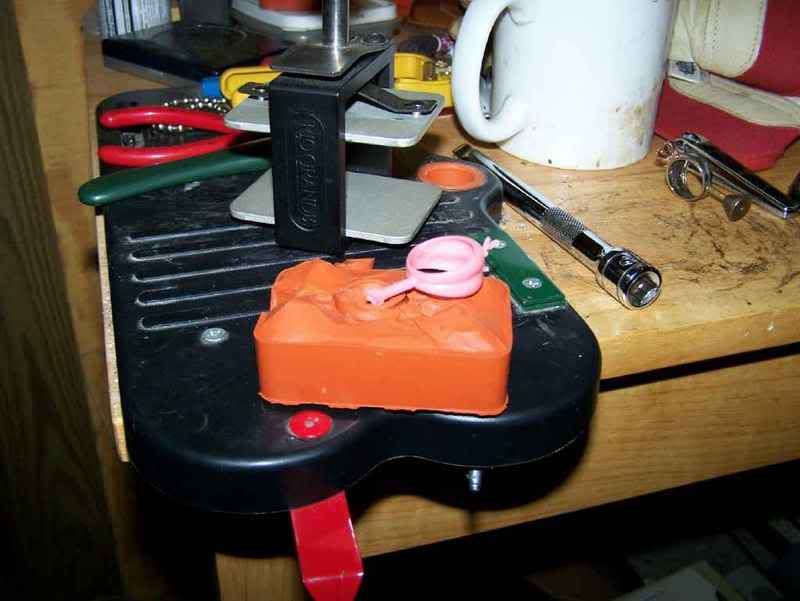
I keep my wax at 168*. The sprue former is for the tip of the wax injector.
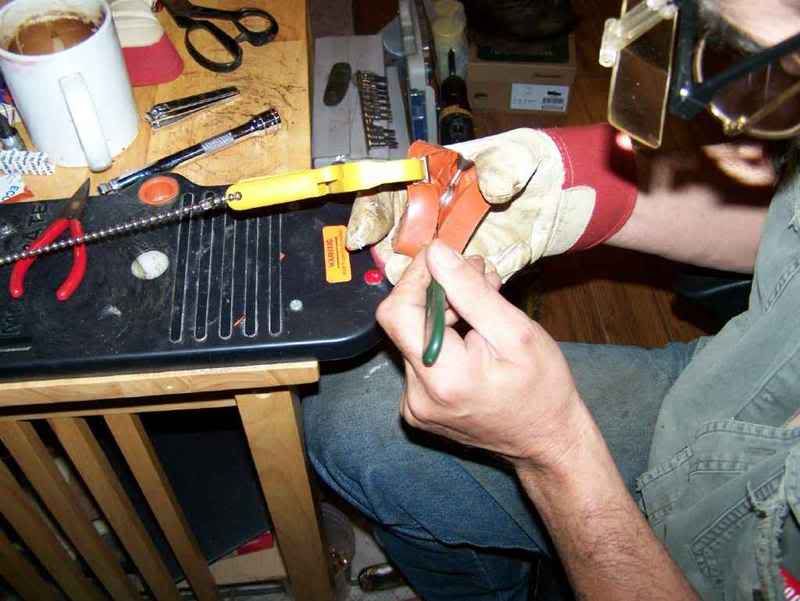
The sprue keeps my model at about center of the mold frame. The vent holes also provide a center line. I cut about 1/4" into the sides, make corner locks out of rubber, then cut into the mold itself. I also incorporate a wavy pattern into the cut. This helps lock the mold further.
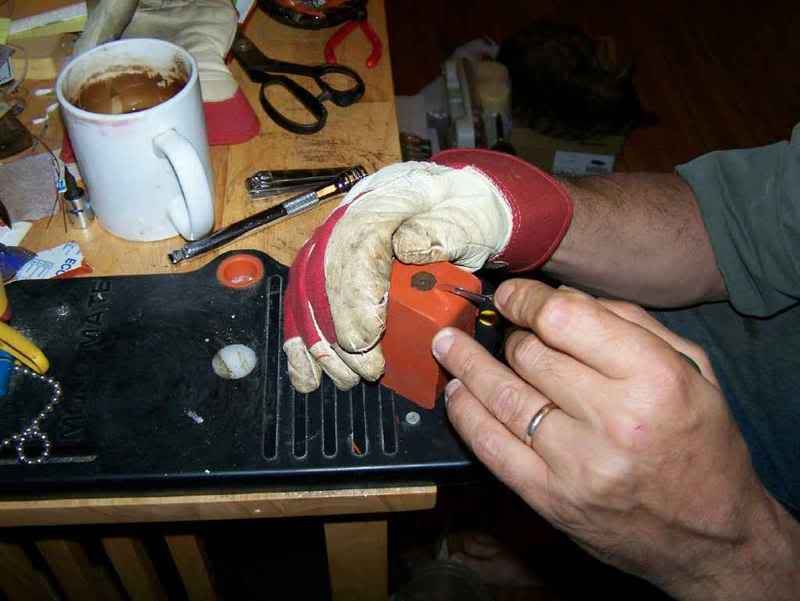
As I cut deeper into the mold, I try to maintain a center untill I find the model. I cut the model out of the mold, pulling the piece being cut away from the model itself.
This stretch makes a lighter line which gives me a cut point. As I cut the center of the mold, releasing the inside of the ring, I cut at a downwards angle. This reduces the amount of rubber to be released from the inside. I use the white shadow to cut any settings, or detail that needs to be easy to release from the wax which is fairly fragile. I also cut out a button, or on thinner molds cut out the center so it can be removed before removing the wax. What this does is, it provides an accurate shape for waxing, but, releases the pressure for removing the wax.
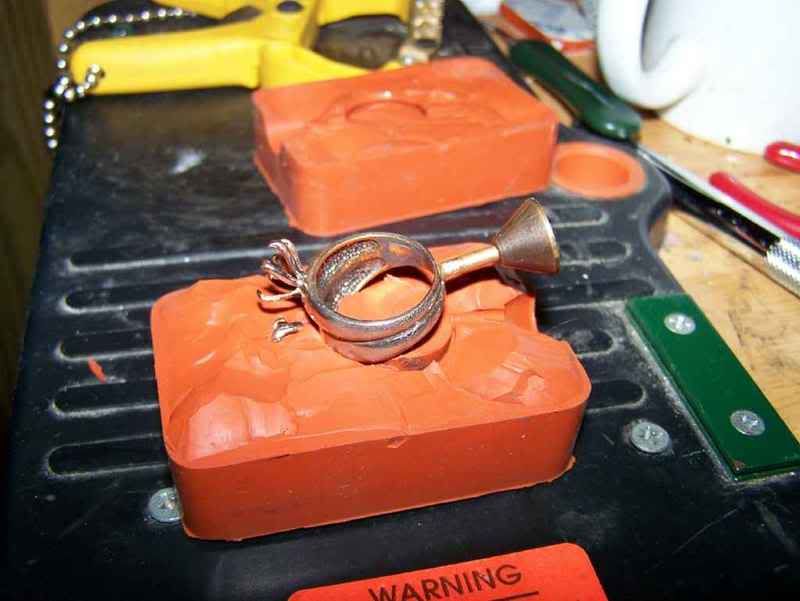
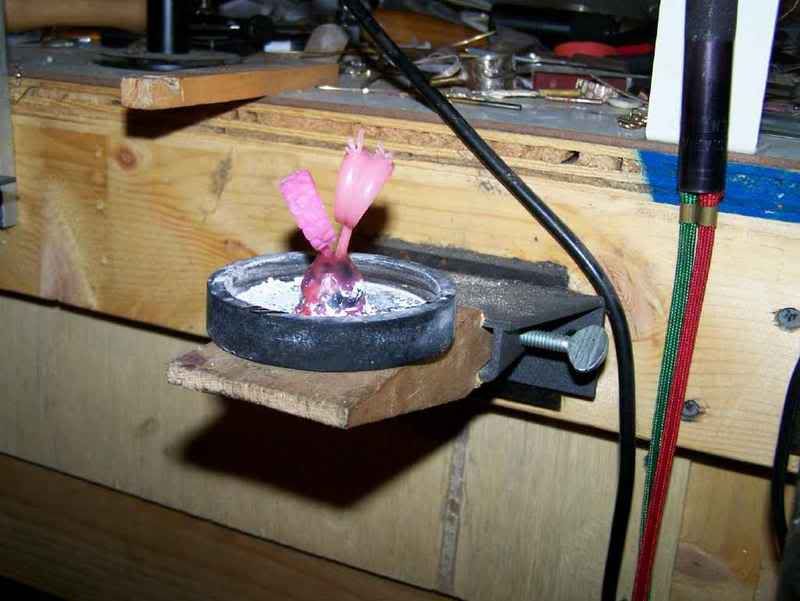
I show two waxes, ready for investing and casting. One is a nugget ring I made from a block of wax, then made a mold from a silver model. The second is the ring for the people who gave me the model.
The waxes are sprued onto a rubber base, with any nonsmooth areas smoothed out to allow for cavitation free casting. A stainless tube will fit onto the base, investment is poured, debubblized, then cooked in the kiln. The rubber base is removed before any heat is incorporated.
That takes us up to the first photo shoot I did where the casting is done.
Mainly, I did this for 58vette so he could see what casting is and for others as well. I am making a ring for him with his opal, some saphires, and the material he sent to me to cast with.
KD has taken time to do the getting it on the air, Thanks to her, I am sure it takes time. My wife took most of the photos, grousing as she does, and the house is a mess as most jewelers are.
I have remodeled our house so it is almost exclusively a studio, we sleep on the floor on a Futon. Stone setting, fabrication, wax modeling in the main part, vaccuming, casting towards the back, and a special addition I built for lathes, drill presses, grinders, and a 14" stone saw.
Hopefully, the photos will answer some questions.
Thanks KD.
|
|
|
|
Post by catmandewe on Feb 8, 2008 19:23:48 GMT -5
Cool tutorial Doc, now I understand some of the stuff you talk about.
Tony
|
|
agatemaggot
Cave Dweller 
Member since August 2006
Posts: 2,195
|
Post by agatemaggot on Feb 9, 2008 13:15:45 GMT -5
I have been looking for a similar colored rubber for mold making. The material we used was a 2 part liquid. arter mixing you would paint the rubber on the iten to be molded and then pour in the rubber. The painting kept air bubbles from forming on the item to be duplicated. We used it for lead fishing lures we were making proto-types of and other short run items. It would make great looking castings and would even reproduce anything written on the item with a magic marker. We bought it from a mail order fishing tackle components seller in Texas but they went out of business.
I didn't mean to take over this tread, sorry, but we would REALLY like to get our hands on some more of this product and I bet that there are folks in the forum that could put it to good use as it was room temperature curing. I have poured over 2000 lead castings in the darn stuff with no breakdown from the heat, 900 degrees ! Just wondered if anyone had a handle on this stuff ?
Harley
|
|
|
|
Post by docone31 on Feb 9, 2008 17:05:28 GMT -5
You are referring to dental impression rubber. There are two types, the two part being used in denture impression making, the RTV type being used for mold plate replicating.
I get my rubber from either RIO, or Stullers. I prefer the Castaldo brand. A standard oven and handmade torque plates can be substituted for a vulcanizer.
|
|
granpaw
starting to spend too much on rocks
 Rocks...The oldest living things on earth.
Member since October 2007
Posts: 111
|
Post by granpaw on Feb 11, 2008 7:02:28 GMT -5
Hey thanks Doc! great!..
looks like you need some fresh coffee though. ;-)
granpaw
|
|
|
|
Post by docone31 on Mar 18, 2008 9:50:01 GMT -5
I am bringing this back up to the top as I have some folks to show the thread to.
Anyone want to put this in the Tips secion?
Sandsman?
|
|