
Post by Zoran on Sept 11, 2008 6:46:39 GMT -5
ADMIN EDIT - repaired broken images
-------------------------
Continued from:
Use: forum.rocktumblinghobby.com/post/292402
Making of a silver stone set pendant - part II
continuation of the thread
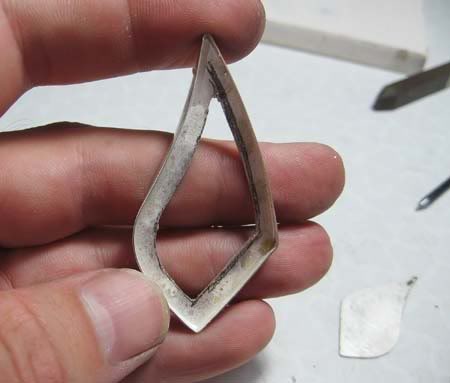
After the bail is prepared we can get back to the pickled bezel-silver sheet assembly.
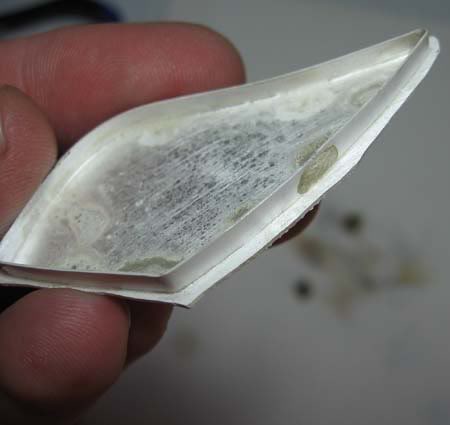
Saw off the extra sheet.
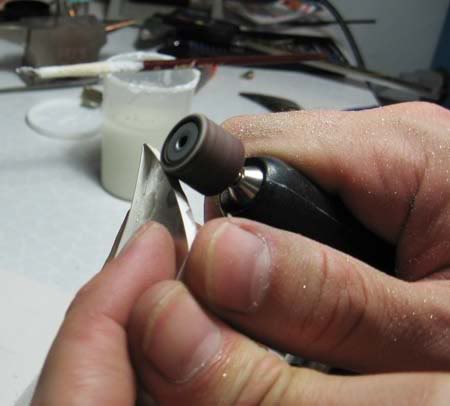
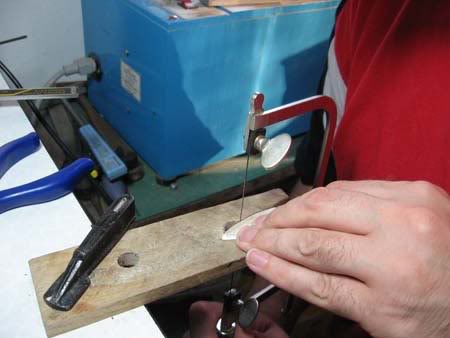
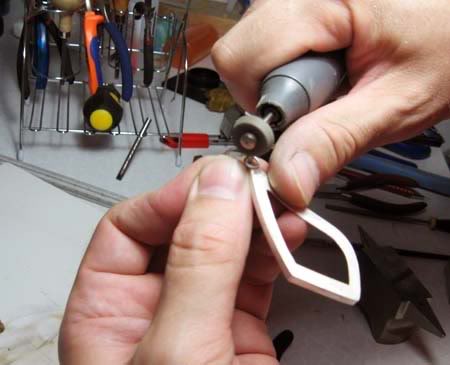
Smooth the edges by sanding with rotary tool
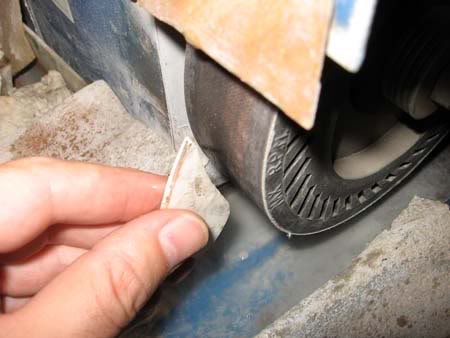
or even on your sander.
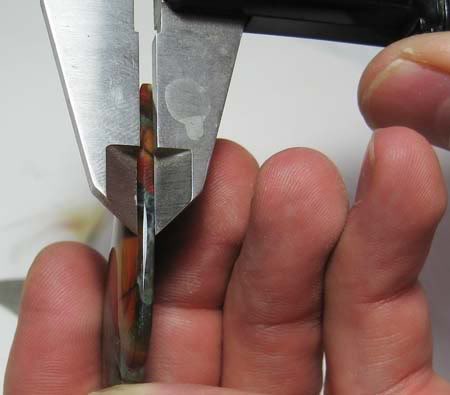
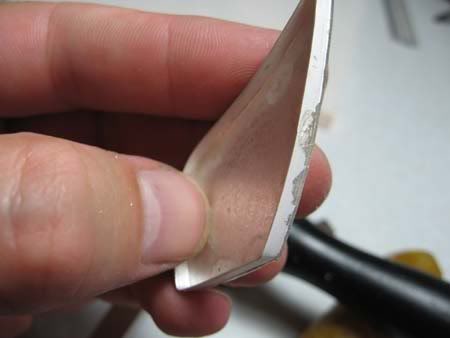
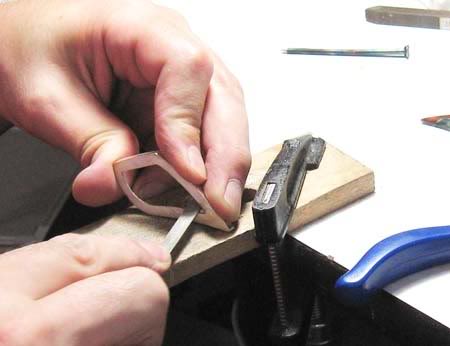
In order to adjust the height of silver bezel you need to measure the height of the cabochon's bezel and then decide how much of the bezel is going to be pushed over the slope of the cabochon.
Adjusting the height if the bezel by rubbing it on sanding paper.
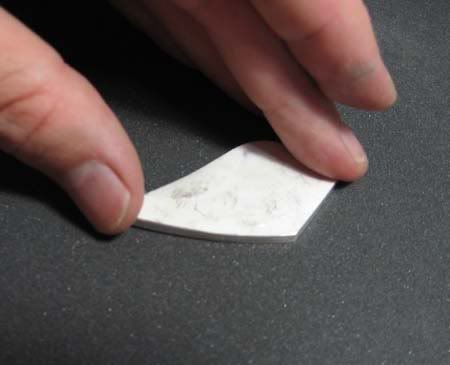
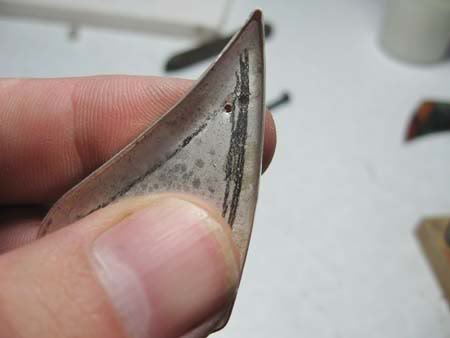
Since I wanted to have opened back on this pendant I draw the shape that I want to cut out.
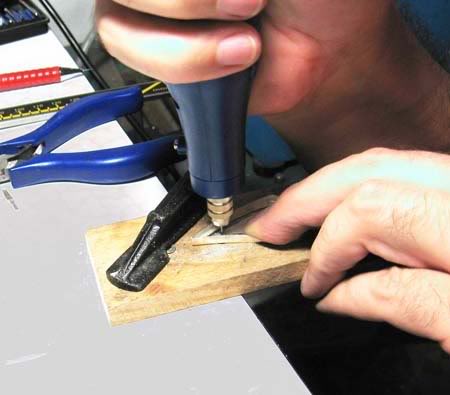
In order to cut off piece on the back we need to drill the hole and then pull the saw blade through.
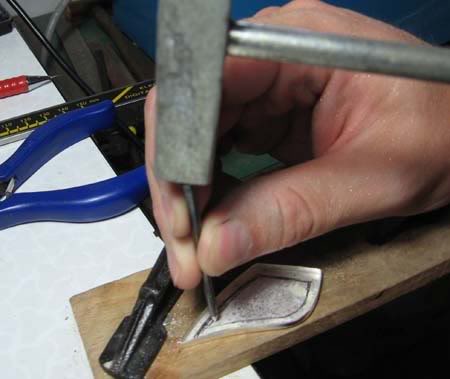
To avoid slipping of drill bit I mark the spot to be drilled by hammering a sharpened nail.
Drilling.
Now, I pull trough the saw blade, by releasing and re-tightening only one end of the saw.
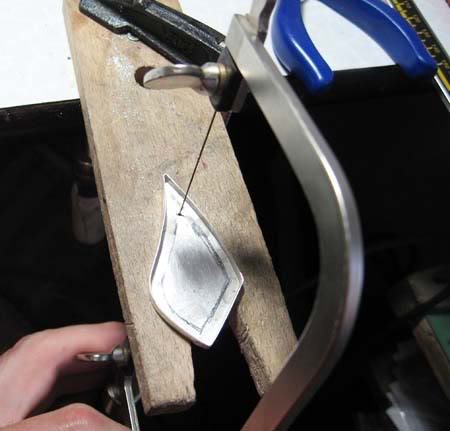
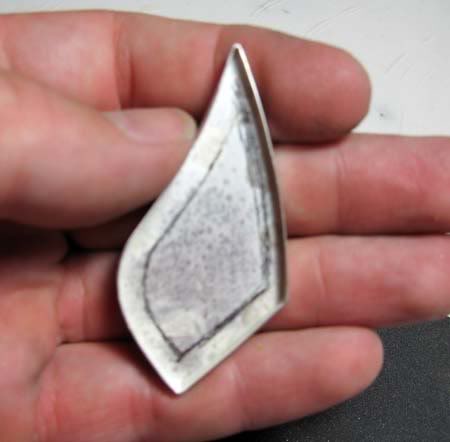
And saw off the shape.
Adjust and smooth the cut off by filling.
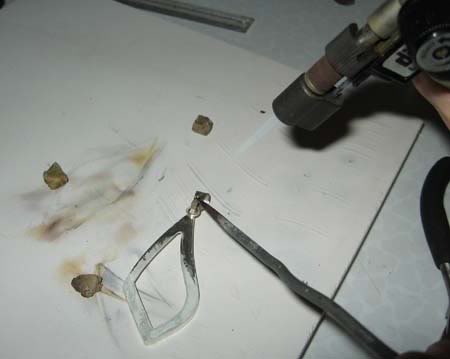
Soldering again.
Now it is time to solder jump ring to the back of the pendant.
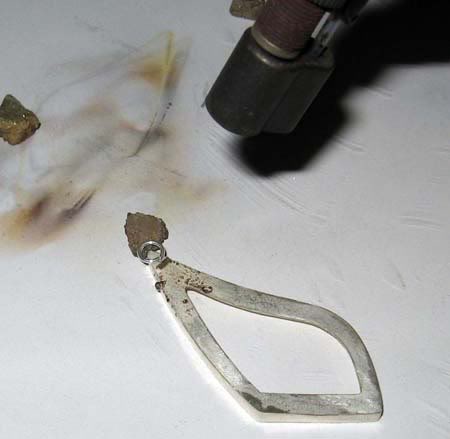
Soldering is performed in the same way as described above. I used chip soldering method this time and used medium solder, but you can also use easy solder.
The only tricky part is avoiding of falling down of jump ring during soldering. I used a small piece of an old firebrick as a supporter.

Put the bail on. Be careful to leave the joint on the back side of the pendant.
Now, you need to solder close the bail. That is the last soldering for this pendant.
I used soft solder.
Grind off and sand off the excess of solder on the joint with rotary tool or with files.
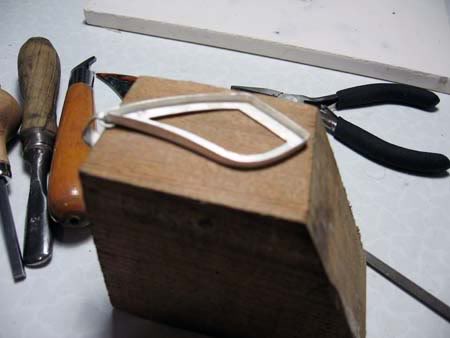
It is time to set the cabochon. I use soft wood block as a support.
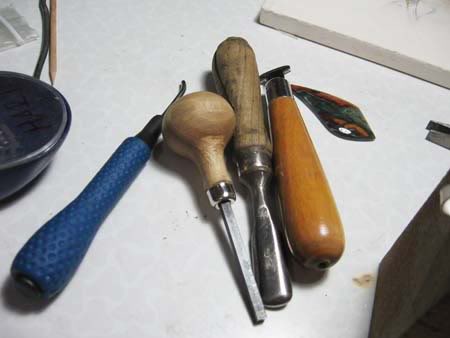
Tools I use for this type of setting. From left to right - burnisher (self-made), bezel pusher, a tool that I also made and can be used both as burnisher or bezel roller and bezel roller (purchased).
Basically, first two are quite enough for this kind of setting.

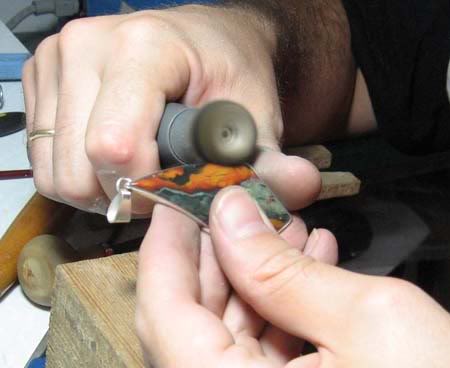
Firstly, get the cabochon in. You need to make sure that the stone is fitted completely and all the way down on its place.
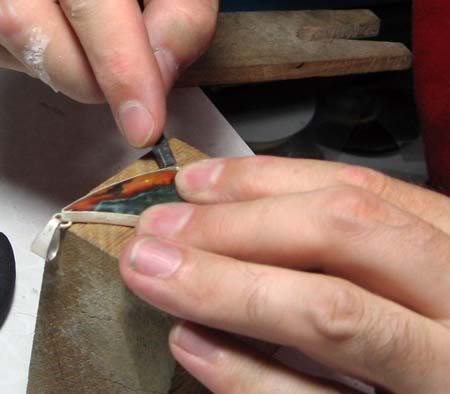
Then start using bezel pusher
![]()
(or bezel roller - it's your choice)
The purpose of the bezel pusher (or roller) is to bend the bezel over the stone.
The only trick is to push the bezel crosswise - 3 o'clock-9 o'clock, 12 o'clock-6o'clock, 1 o'clock-7 o'clock etc.

After you pushed the bezel completely over the stone use the burnisher to smooth it.

To further enhance the smoothness of your bezel use a rotary tool with sanding and polishing wheel. Just be careful not to damage the stone, especially if the stone is soft.
The only thing left to do is - polishing.
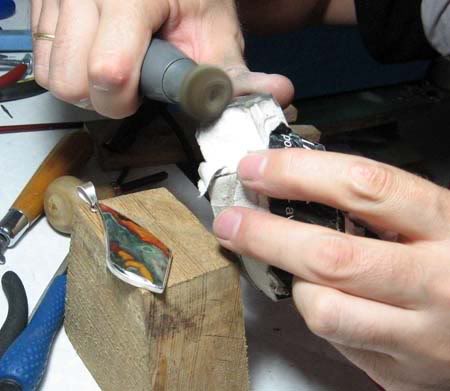
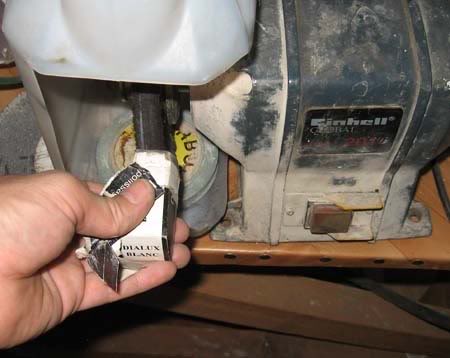
I use muslin buffs on rotary tool or bench polisher.
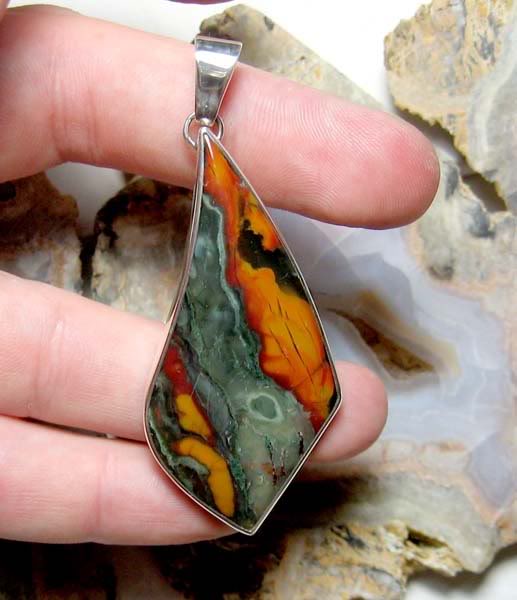
And the pendant is finished.
The end.
Zoran
-------------------------
Continued from:
Use: forum.rocktumblinghobby.com/post/292402
Making of a silver stone set pendant - part II
continuation of the thread
After the bail is prepared we can get back to the pickled bezel-silver sheet assembly.
Saw off the extra sheet.
Smooth the edges by sanding with rotary tool
or even on your sander.
In order to adjust the height of silver bezel you need to measure the height of the cabochon's bezel and then decide how much of the bezel is going to be pushed over the slope of the cabochon.
Adjusting the height if the bezel by rubbing it on sanding paper.
Since I wanted to have opened back on this pendant I draw the shape that I want to cut out.
In order to cut off piece on the back we need to drill the hole and then pull the saw blade through.
To avoid slipping of drill bit I mark the spot to be drilled by hammering a sharpened nail.
Drilling.
Now, I pull trough the saw blade, by releasing and re-tightening only one end of the saw.
And saw off the shape.
Adjust and smooth the cut off by filling.
Soldering again.
Now it is time to solder jump ring to the back of the pendant.
Soldering is performed in the same way as described above. I used chip soldering method this time and used medium solder, but you can also use easy solder.
The only tricky part is avoiding of falling down of jump ring during soldering. I used a small piece of an old firebrick as a supporter.
Put the bail on. Be careful to leave the joint on the back side of the pendant.
Now, you need to solder close the bail. That is the last soldering for this pendant.
I used soft solder.
Grind off and sand off the excess of solder on the joint with rotary tool or with files.
It is time to set the cabochon. I use soft wood block as a support.
Tools I use for this type of setting. From left to right - burnisher (self-made), bezel pusher, a tool that I also made and can be used both as burnisher or bezel roller and bezel roller (purchased).
Basically, first two are quite enough for this kind of setting.
Firstly, get the cabochon in. You need to make sure that the stone is fitted completely and all the way down on its place.
Then start using bezel pusher
(or bezel roller - it's your choice)
The purpose of the bezel pusher (or roller) is to bend the bezel over the stone.
The only trick is to push the bezel crosswise - 3 o'clock-9 o'clock, 12 o'clock-6o'clock, 1 o'clock-7 o'clock etc.
After you pushed the bezel completely over the stone use the burnisher to smooth it.
To further enhance the smoothness of your bezel use a rotary tool with sanding and polishing wheel. Just be careful not to damage the stone, especially if the stone is soft.
The only thing left to do is - polishing.
I use muslin buffs on rotary tool or bench polisher.
And the pendant is finished.
The end.
Zoran


 Also - what are the dimensions of your bail template?


