Post by fernwood on May 14, 2018 15:16:51 GMT -5
MsAli asked, so here it is.
This is more of a fun ring to make that a retail endeavor. It is easy enough for Middle/High School students to make, or even a summer camp/4-H project.
A fidget ring of sorts.
It was a popular project when I was a 4-H leader.
Supplies needed:
Soft wire. I used 20 gauge round for this, but half round or flat work better.
A bead made from fairly durable material with a hole large enough for the wire to go through. I used reconstituted Turquoise.
A ring mandrel.
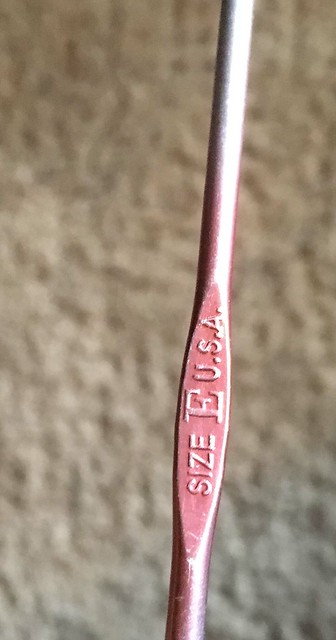
A size E crocket hook (or smaller).
Precision wire cutters.
Precision tweezers.
Determine the size ring you want to make. I did a 4 ½ one.
To determine the length of wire you will need multiple the ring size by 3.75 for wrapping completely around the shank or by 3.25 for only wrapping near the bead. Some length adjustment may need to be made depending on the length/width of the bead.
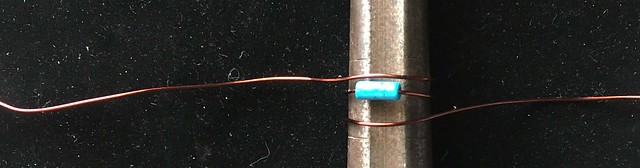
Place your bead in the middle of the wire.
 1
1
Next, grab your ring mandrel. Place the bead in the designated area.
Wrap each end of wire around the mandrel. Note, that when I placed the ring on mandrel at this stage, it was a size 7.25. Do not worry that the wires are not close to the bead. That will happen later.
 2
2
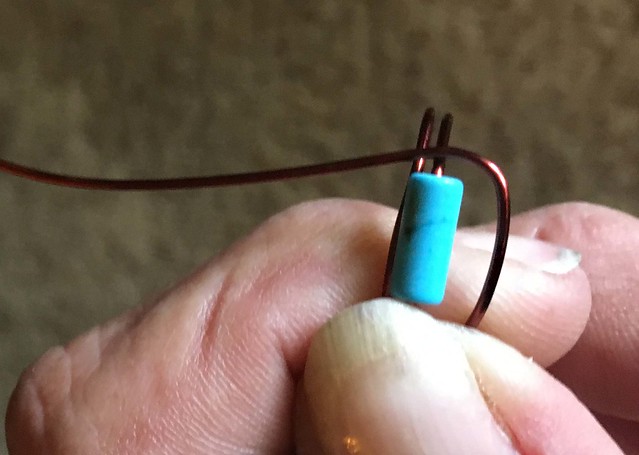
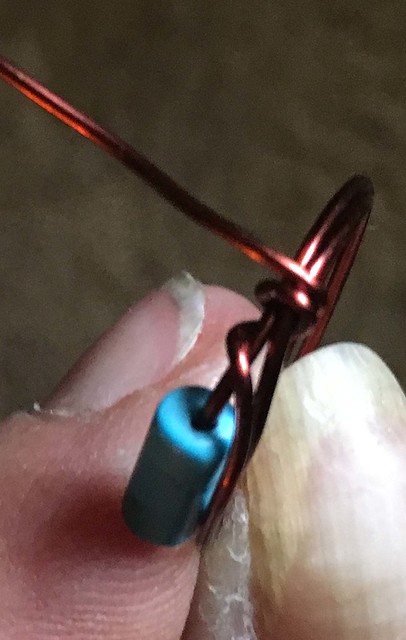
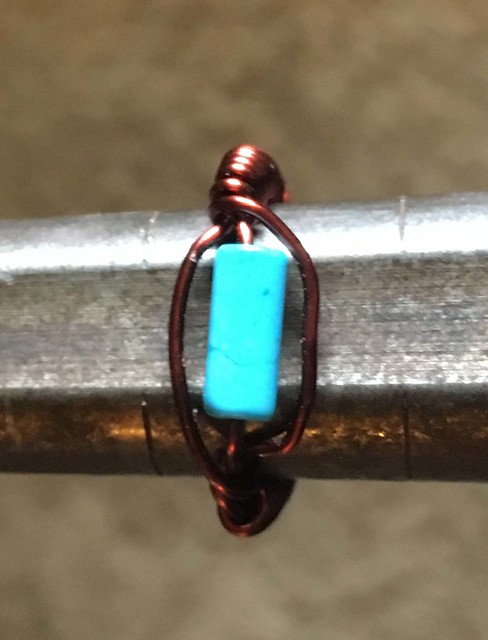
Take the ring off the mandrel and bend one length of wire as shown, leaving enough space next to bead for the bead to rotate and/or slide back and forth.
 3
3
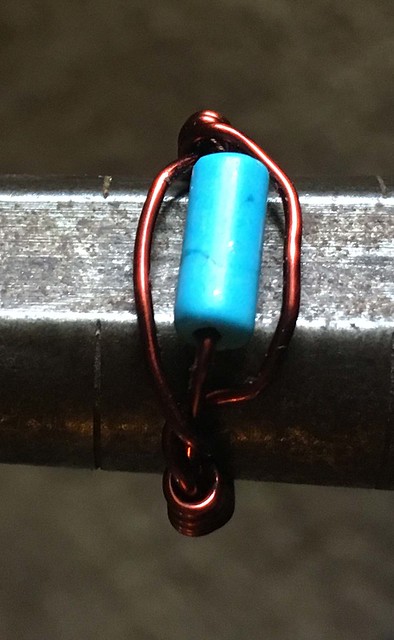
Then wrap around ring shank twice. Repeat for other side.
 4
4
 5
5
 7
7
 8
8
Place ring back on mandrel to straighten, then remove.
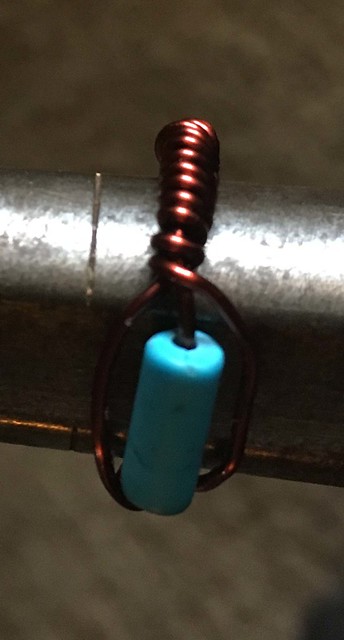
Begin wrapping about 3-4 loops of wire around ring shank, alternating sides. Continue until there is about a ¼” gap between each side. Angle cut one end of wire so there is about 1/8” end left. Place this end between the two pieces of wire forming the back of the shank. Leave a small gap of about the width of the wire between the last wrap and the tuck.
Continue wrapping with the other end until it meets the wrap from the other side.
Tuck the end of this wire in the gap you previously left.
Angle cut wire as close as possible to where it is tucked. Using tweezers, ensure the end of wire is completely hidden.
Place ring back on mandrel to straighten.
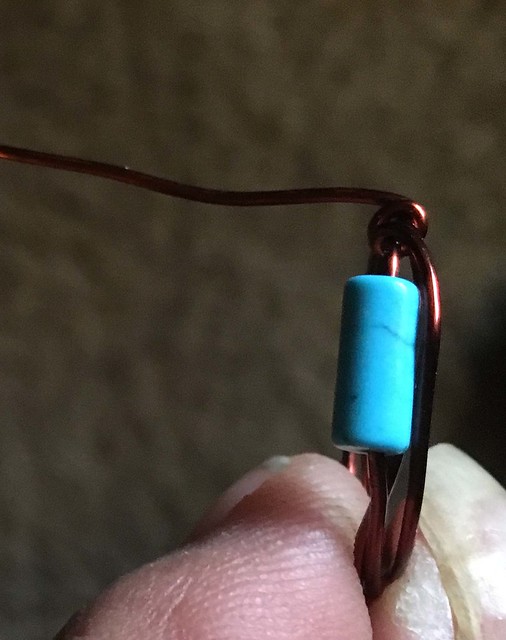
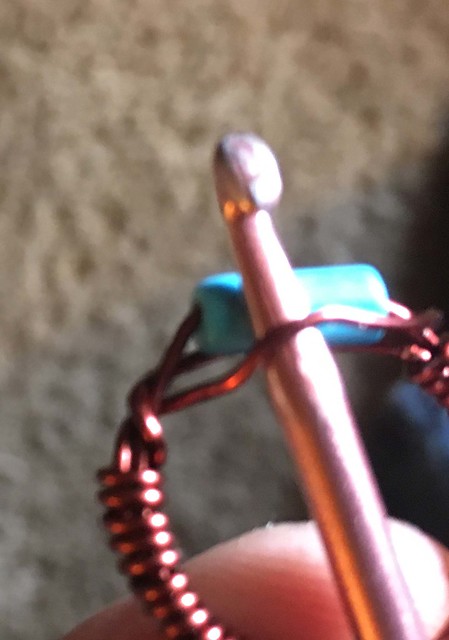
Take off mandrel. Place crochet hook between stone and upper wire. Carefully shape wire around bead to your liking. Repeat on other side. This one needs more shaping, but my hands were acting up.
 10
10
 12
12
 11
11
 9
9
 13
13
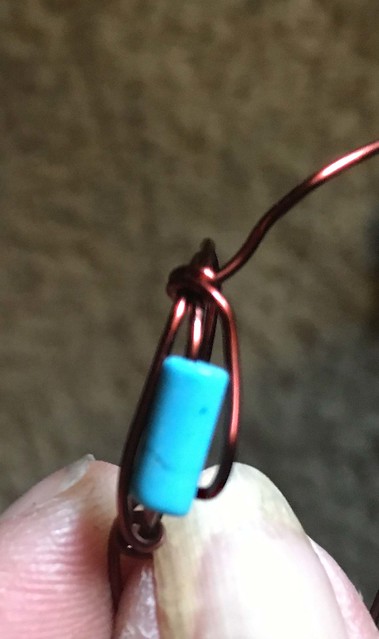
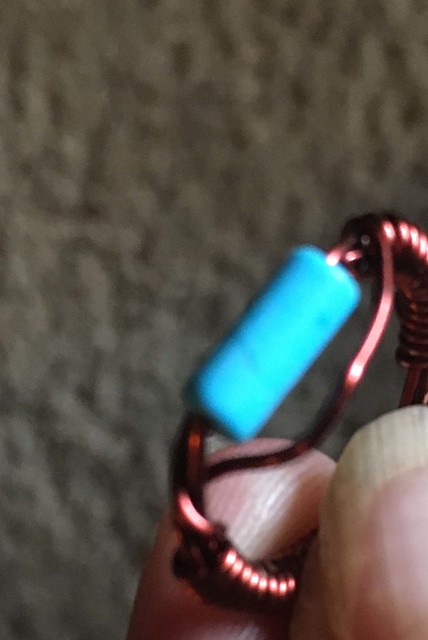
The wire wraps near the bead can now be gathered together if there are any gaps. I just use my thumbnails for this, but you might want to use a plastic or wood stick.
Return to mandrel for final straightening.
 14
14
 15
15
 16
16
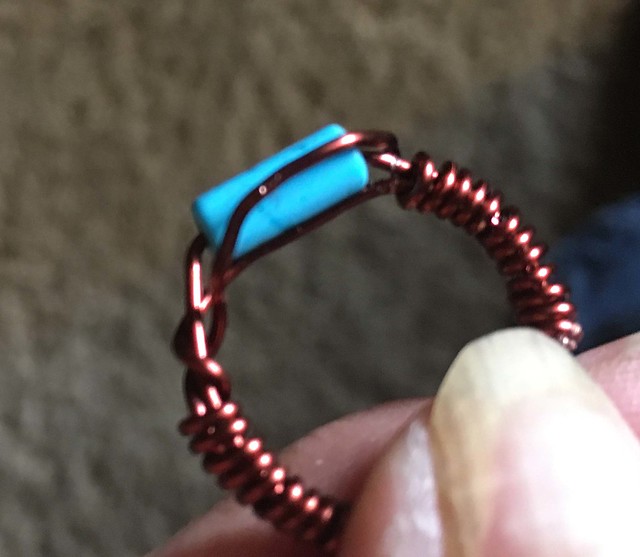
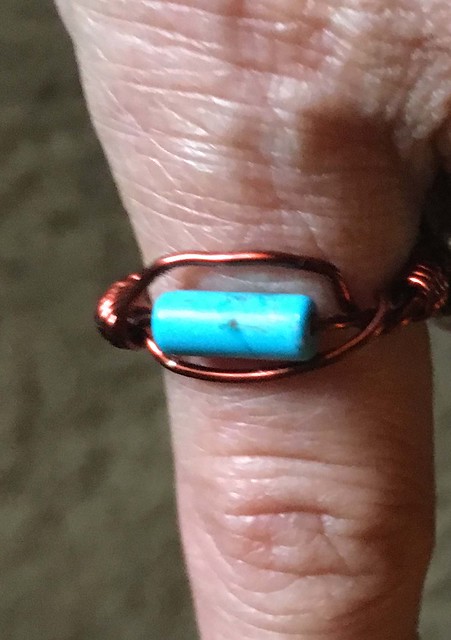
I now have a size 4.5 ring, perfect for my pinkie.
 17
17
Sorry, I forgot to take photos of some steps, but hopefully the description is good enough. I will try to add those when I make another.
If you try this and have any questions, please let me know. Also post your results.
Complete Album on Flickr: www.flickr.com/photos/145230675@N04/albums/72157696190403554
This is more of a fun ring to make that a retail endeavor. It is easy enough for Middle/High School students to make, or even a summer camp/4-H project.
A fidget ring of sorts.
It was a popular project when I was a 4-H leader.
Supplies needed:
Soft wire. I used 20 gauge round for this, but half round or flat work better.
A bead made from fairly durable material with a hole large enough for the wire to go through. I used reconstituted Turquoise.
A ring mandrel.
A size E crocket hook (or smaller).
Precision wire cutters.
Precision tweezers.
Determine the size ring you want to make. I did a 4 ½ one.
To determine the length of wire you will need multiple the ring size by 3.75 for wrapping completely around the shank or by 3.25 for only wrapping near the bead. Some length adjustment may need to be made depending on the length/width of the bead.
Place your bead in the middle of the wire.
1 Next, grab your ring mandrel. Place the bead in the designated area.
Wrap each end of wire around the mandrel. Note, that when I placed the ring on mandrel at this stage, it was a size 7.25. Do not worry that the wires are not close to the bead. That will happen later.
2 Take the ring off the mandrel and bend one length of wire as shown, leaving enough space next to bead for the bead to rotate and/or slide back and forth.
3 Then wrap around ring shank twice. Repeat for other side.
4 5 7 8 Place ring back on mandrel to straighten, then remove.
Begin wrapping about 3-4 loops of wire around ring shank, alternating sides. Continue until there is about a ¼” gap between each side. Angle cut one end of wire so there is about 1/8” end left. Place this end between the two pieces of wire forming the back of the shank. Leave a small gap of about the width of the wire between the last wrap and the tuck.
Continue wrapping with the other end until it meets the wrap from the other side.
Tuck the end of this wire in the gap you previously left.
Angle cut wire as close as possible to where it is tucked. Using tweezers, ensure the end of wire is completely hidden.
Place ring back on mandrel to straighten.
Take off mandrel. Place crochet hook between stone and upper wire. Carefully shape wire around bead to your liking. Repeat on other side. This one needs more shaping, but my hands were acting up.
10 12 11 9 13 The wire wraps near the bead can now be gathered together if there are any gaps. I just use my thumbnails for this, but you might want to use a plastic or wood stick.
Return to mandrel for final straightening.
14 15 16 I now have a size 4.5 ring, perfect for my pinkie.
17 Sorry, I forgot to take photos of some steps, but hopefully the description is good enough. I will try to add those when I make another.
If you try this and have any questions, please let me know. Also post your results.
Complete Album on Flickr: www.flickr.com/photos/145230675@N04/albums/72157696190403554


 You're down here in the bilges with the wharf rats. You will get more mileage above on the upper decks.