USMC15
Cave Dweller  I feel like I just came out of the tumbler ...
Member since March 2021
Posts: 273
|
Post by USMC15 on Mar 12, 2021 17:53:11 GMT -5
Does anyone know of a great video that can walk me threw polishing a rock face?
|
|
|
|
Post by manofglass on Mar 12, 2021 18:09:55 GMT -5
|
|
stefan
Cave Dweller 
Member since January 2005
Posts: 14,113
|
Post by stefan on Mar 13, 2021 18:31:15 GMT -5
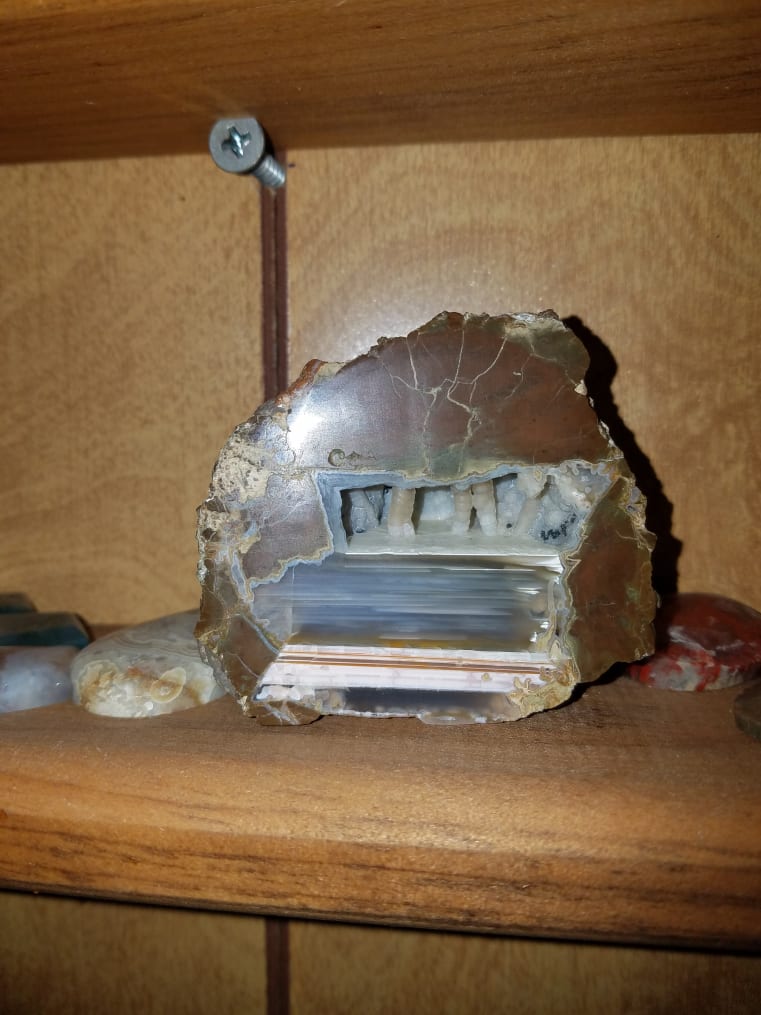
I did a Thunder egg by hand YEARS ago. It was actually a very cheap simple setup but it took me WEEKS! Start with an old window (preferably still in the frame) but any flat glass surface will do (the larger the better). Get whatever flat you want to polish (make sure there are NO saw marks or uneven areas) and dope or glue it to something comfortable to grab into and hold for hours (the thundering was easy to hold). Put down a little 60/90 grit (about half a teaspoon) on the glass and a couple drops of water (I spray the surface of the flat) Place flat on the grit and start rubbing in a circular motion. You don't need to move fast or use a lot of pressure. The sound at first is well like grit on a glass window lol! Keep going and soon as slurry will form. keep it damp but not too funny (you will know when it gets too dry as it will start to stick and stutter on the glass). Add grit when it seems like the gross sound goes away (you will feel the grit being used up- I usually would get about 30 to 45 mins of grinding per grit charge) If you get tired take a break and come back later- just a little water and you're back in biz. Once you have removed ALL saw marks and what not (the smoother the starting face the quicker the course grind) clean the rock off very well and clean off the glass very well (I just move to a different part of the window hence the use of a framed pane), and start with 120/220. Follow the same steps until all the scratches from the first step are gone (ALL THE SCRATCHES!!! cause if you rush it you gotta go back!). Repeat with 500. Repeat with prepolish. Repeat with polish. ok now see those scratches you missed from the 120/220 step? I told you to watch out for that. GO back and do the 120/220 step again and so on! It took me about a long time (I don't remember how long, but probably 6 or 8 hours total for each step (20 minutes at a time). This is the result.  |
|
|
|
Post by greig on Mar 13, 2021 19:08:35 GMT -5
What tools do you have? A vibe flat lap is ideal.
If none, you can try wet automotive sandpaper. Polishing starts about 1500 grit and you can get much finer. I have done it by placing the sandpaper on the bottom of an old baking pan with a little bit of water and moved the rock across it in circles while watching TV.
|
|
USMC15
Cave Dweller  I feel like I just came out of the tumbler ...
Member since March 2021
Posts: 273
|
Post by USMC15 on Mar 16, 2021 22:17:14 GMT -5
I don't think I have the time nor patience to do it by hand, maybe after I get my lap thing-a-ma-gig
|
|
Benathema
has rocks in the head
   God chased me down and made sure I knew He was real June 20, 2022. I've been on a Divine Mission.
Member since November 2019
Posts: 703
|
Post by Benathema on Mar 16, 2021 22:48:51 GMT -5
I did what stefan did 1.5 times, but with softer stones. I had a rough piece of rhodochrosite, and used sandpaper on a flat stone with water. I progressed through the grits then made a paste with AO polish on a piece of felt. I only did one face of it, and looking closely there are still scratches visible on the polished surface.
The second one I started but didn't finish was a piece of phosphosiderite. I got it flat with coarse then stopped. I opted for the figure 8 pattern.
|
|